Follow these steps to get the bot running on your Discord server. Takes about 5 minutes.
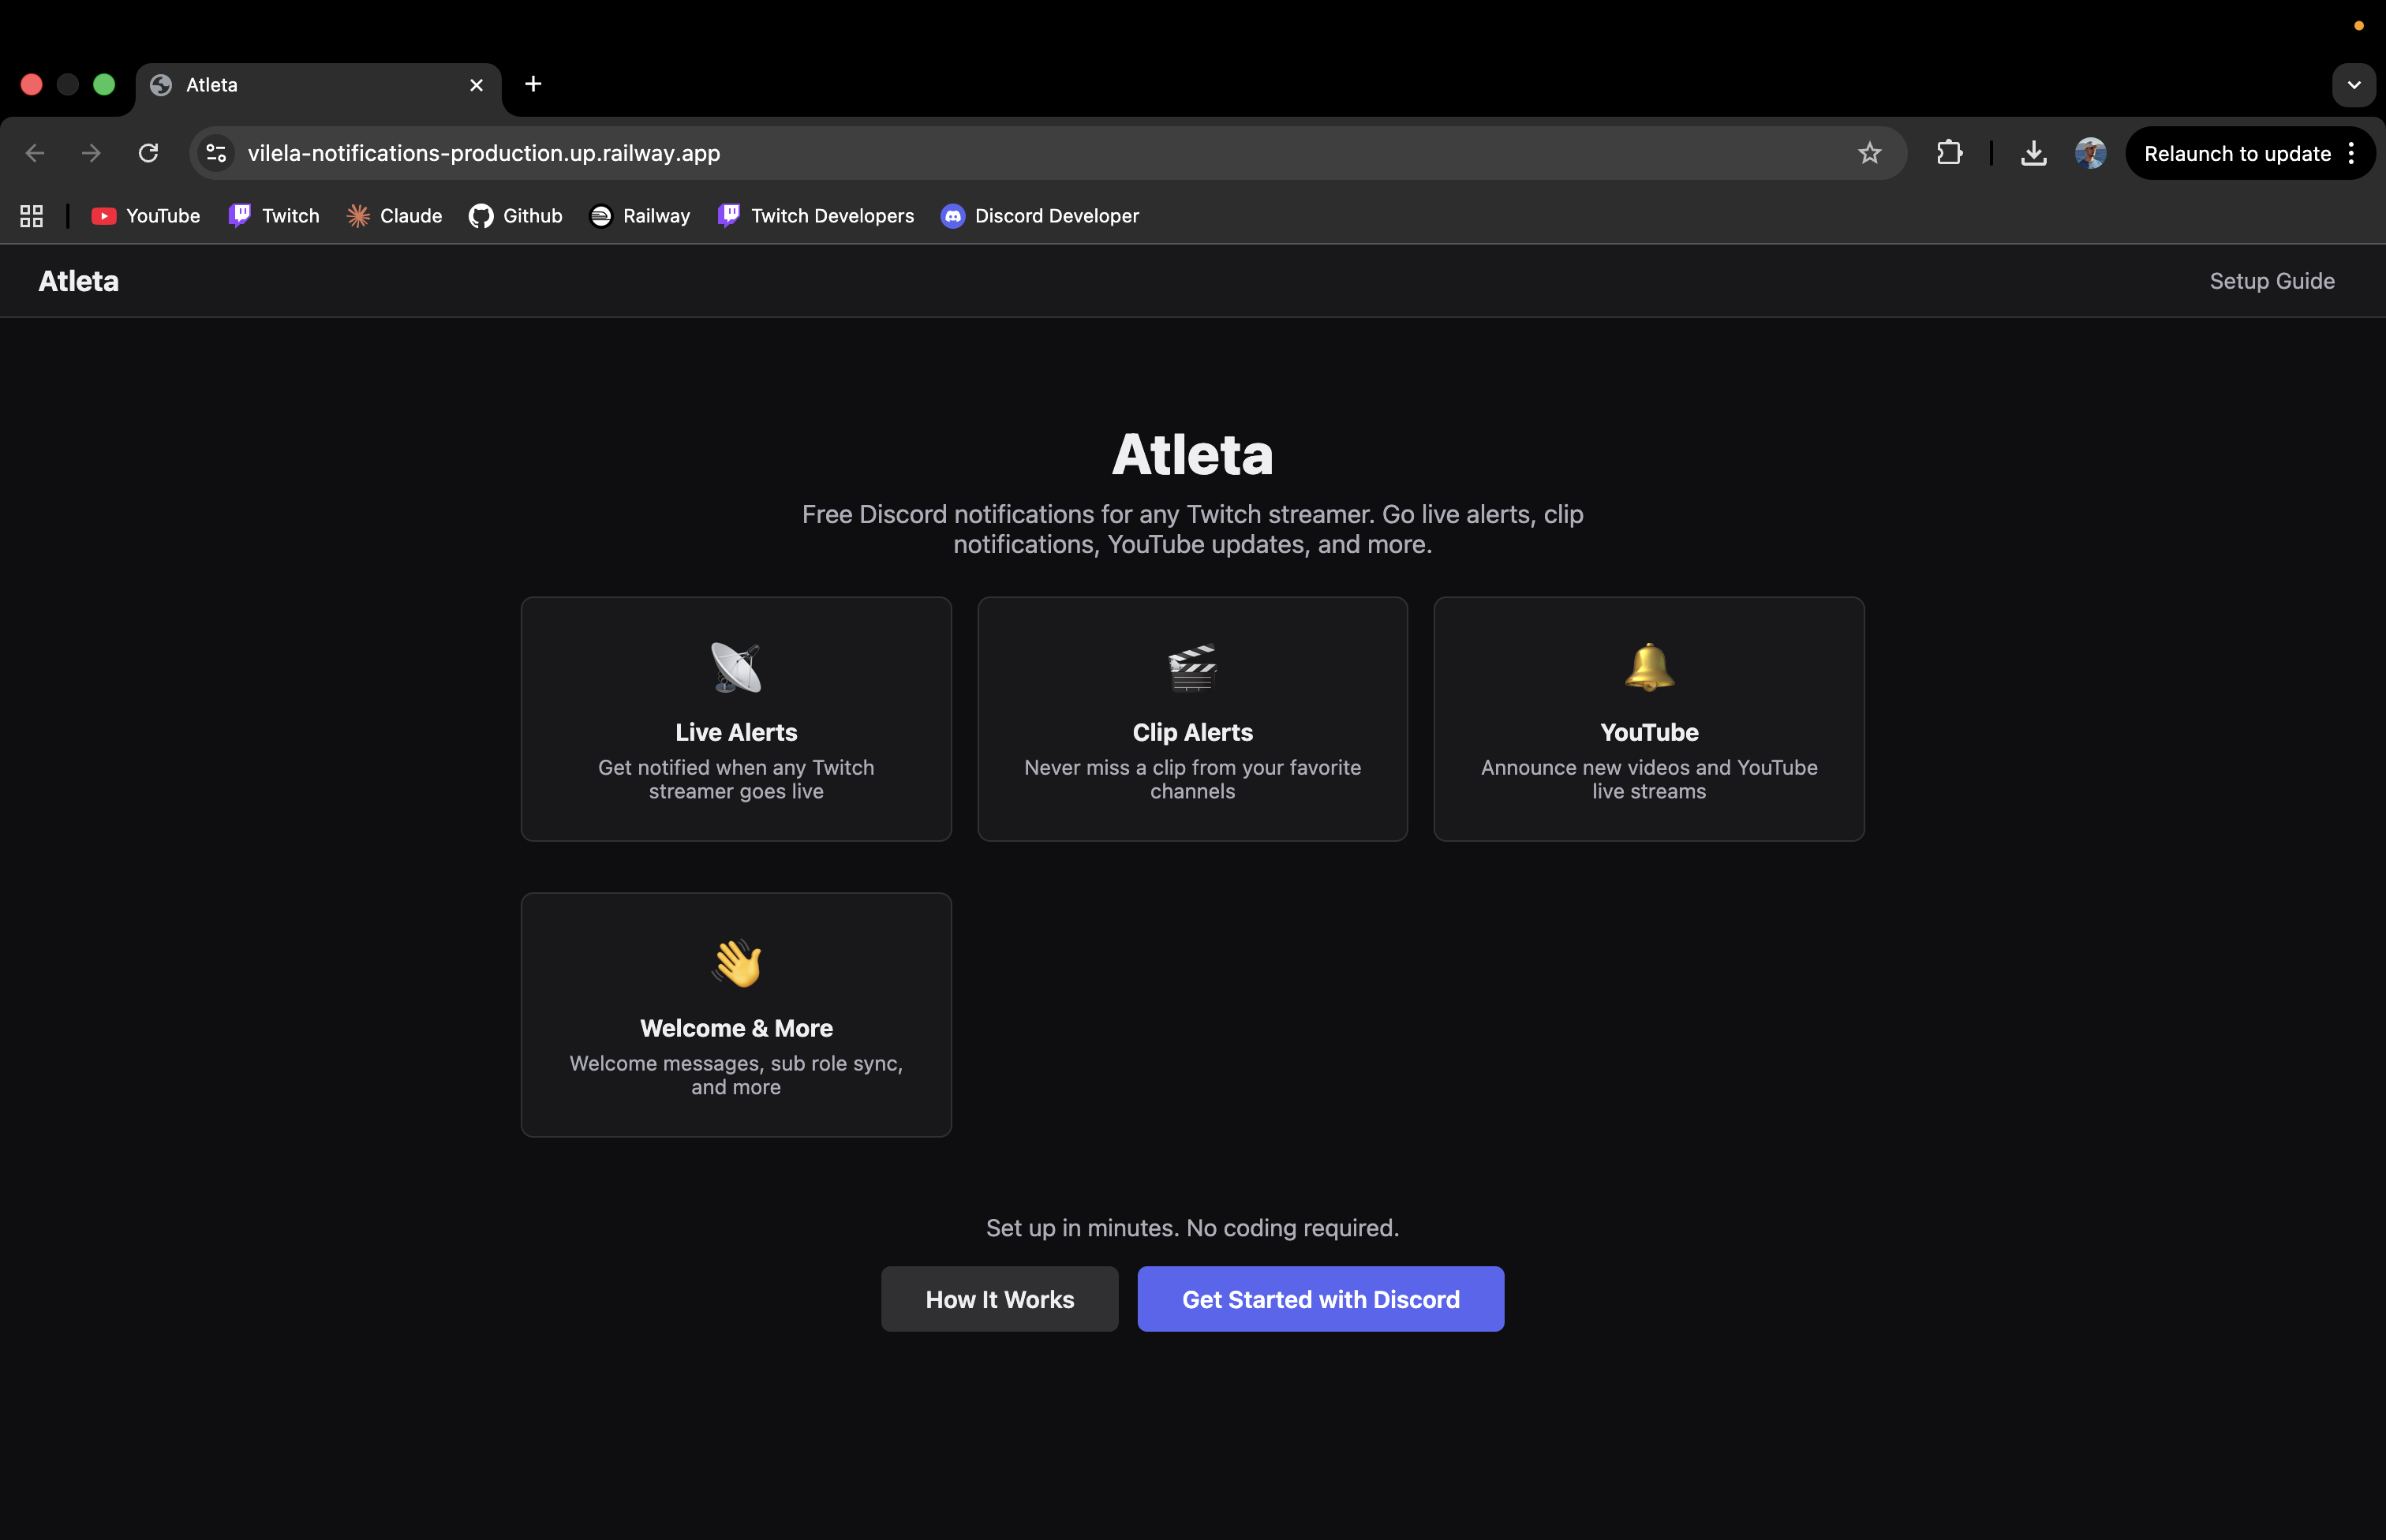
Click "Get Started with Discord" on the home page. This creates your account using your Discord identity.
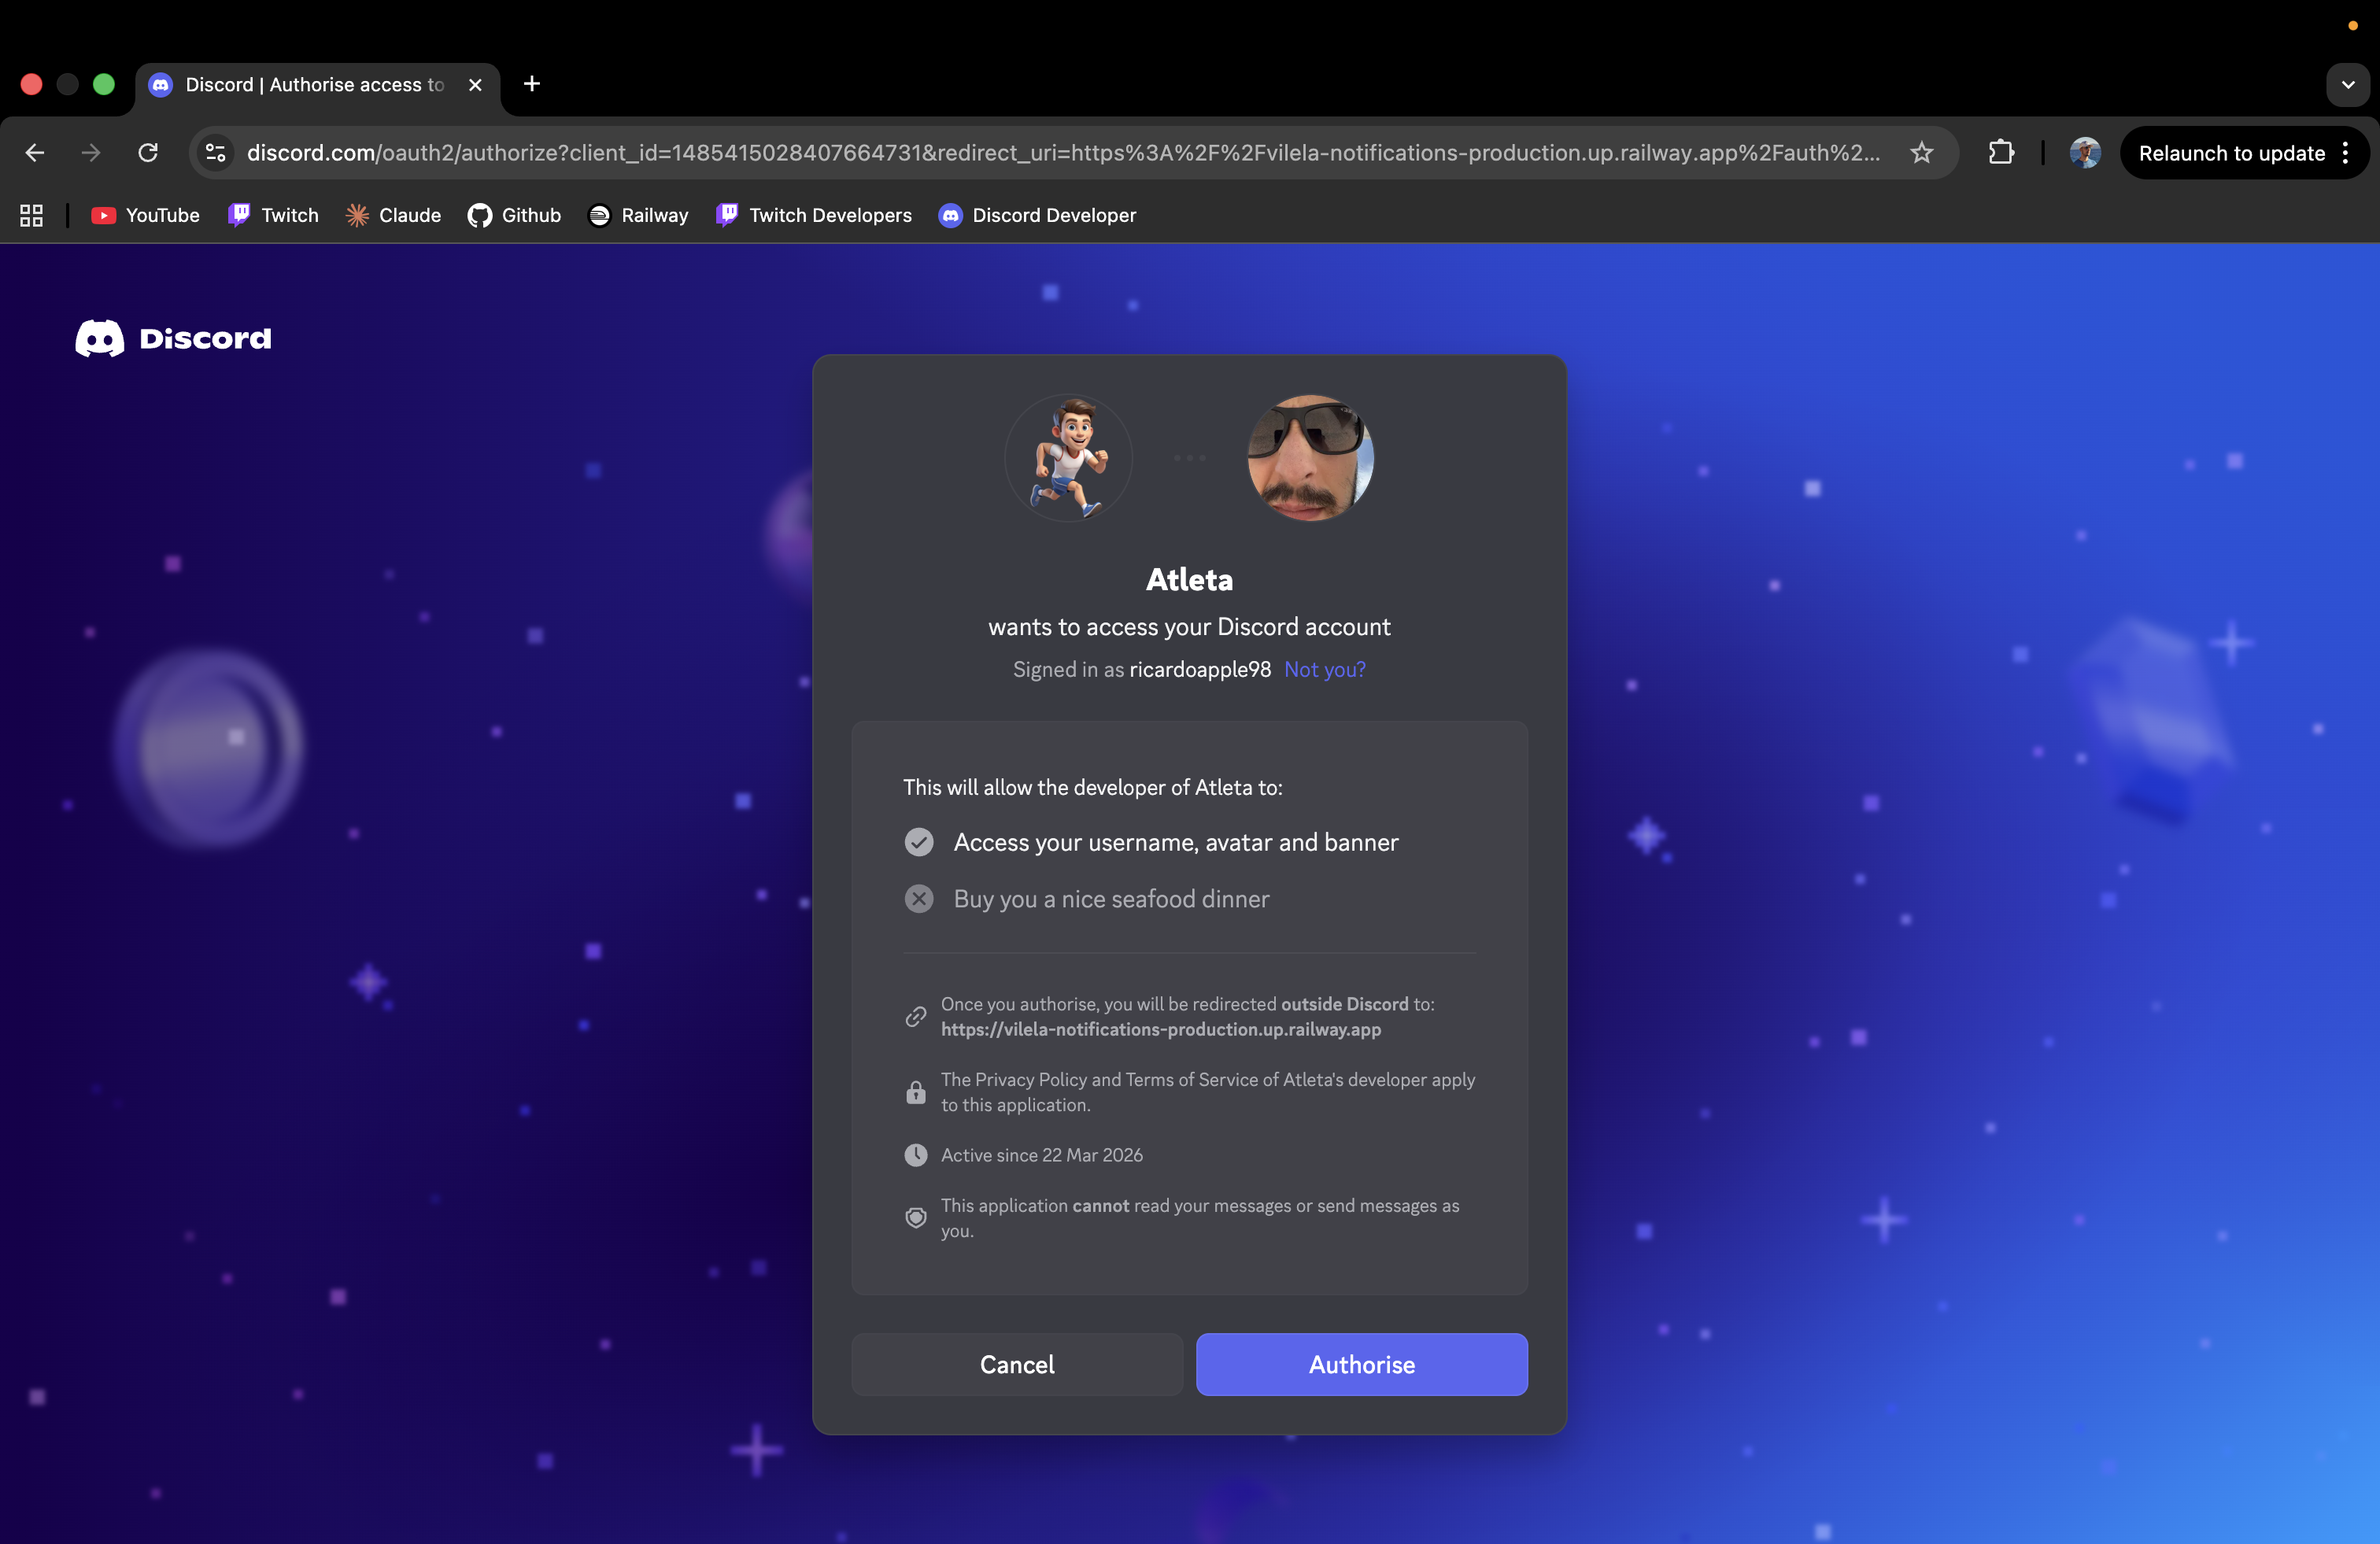
You'll be redirected to Discord to authorize. The bot only reads your username and avatar.
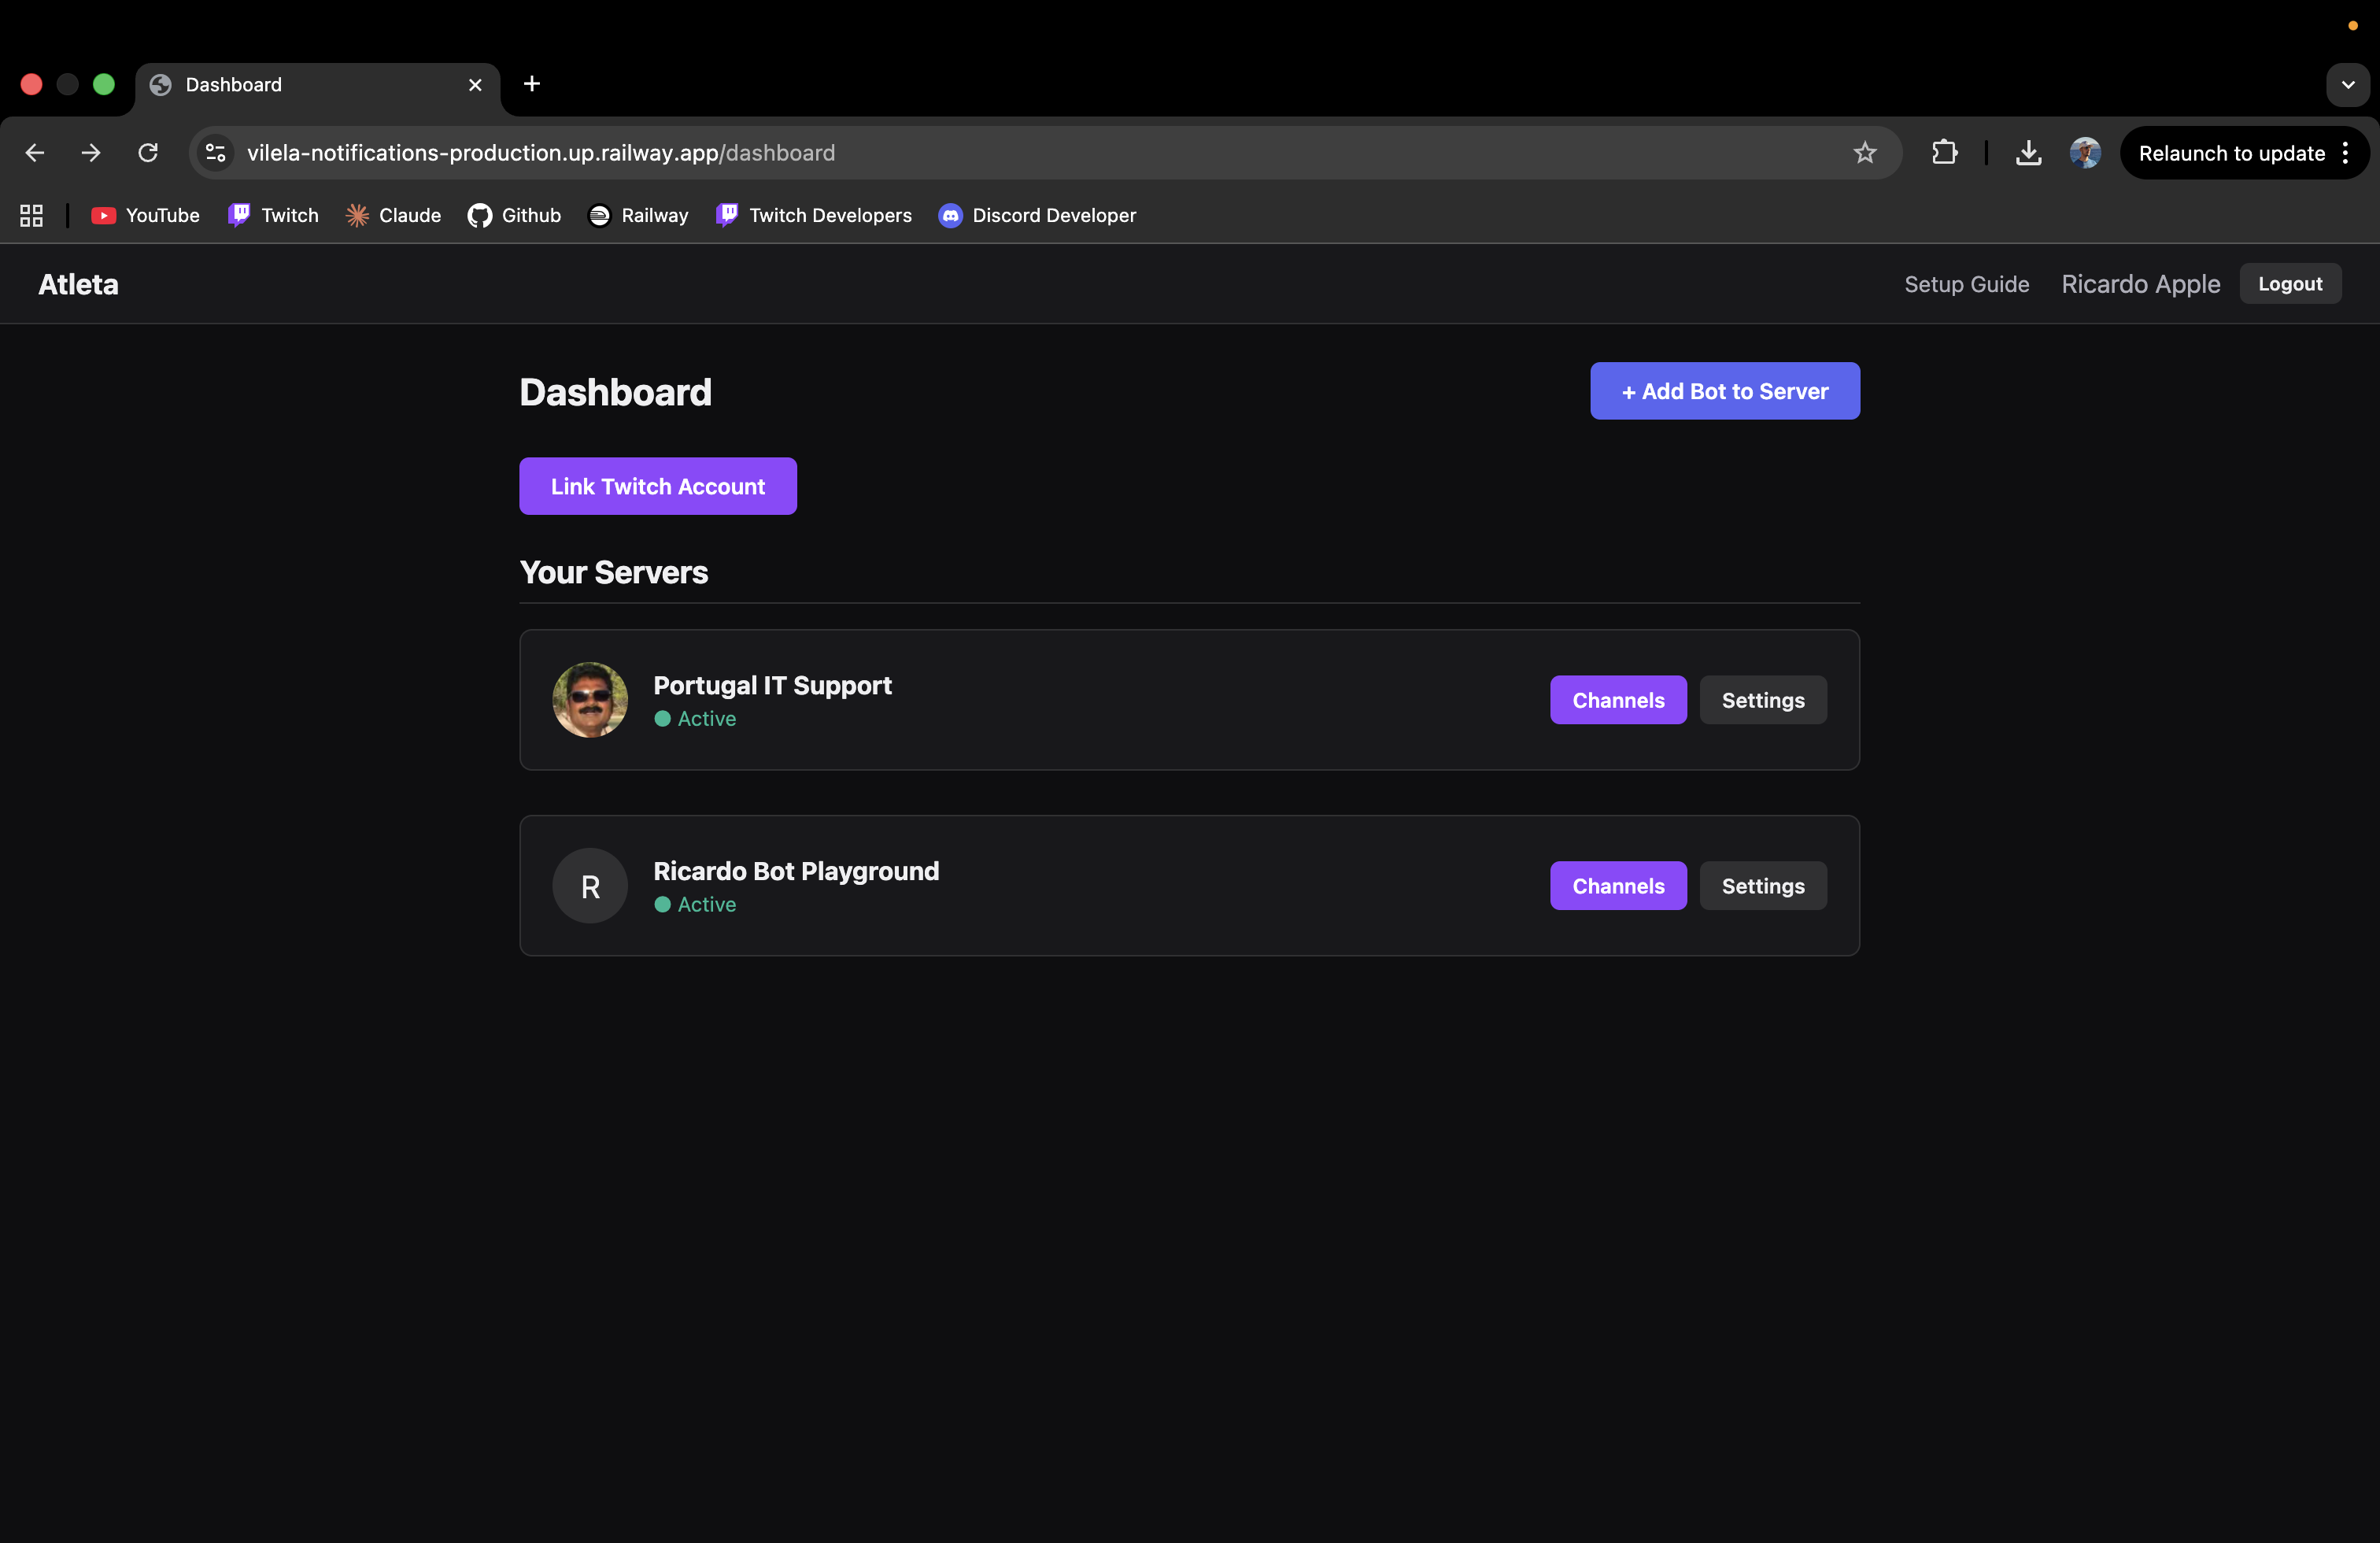
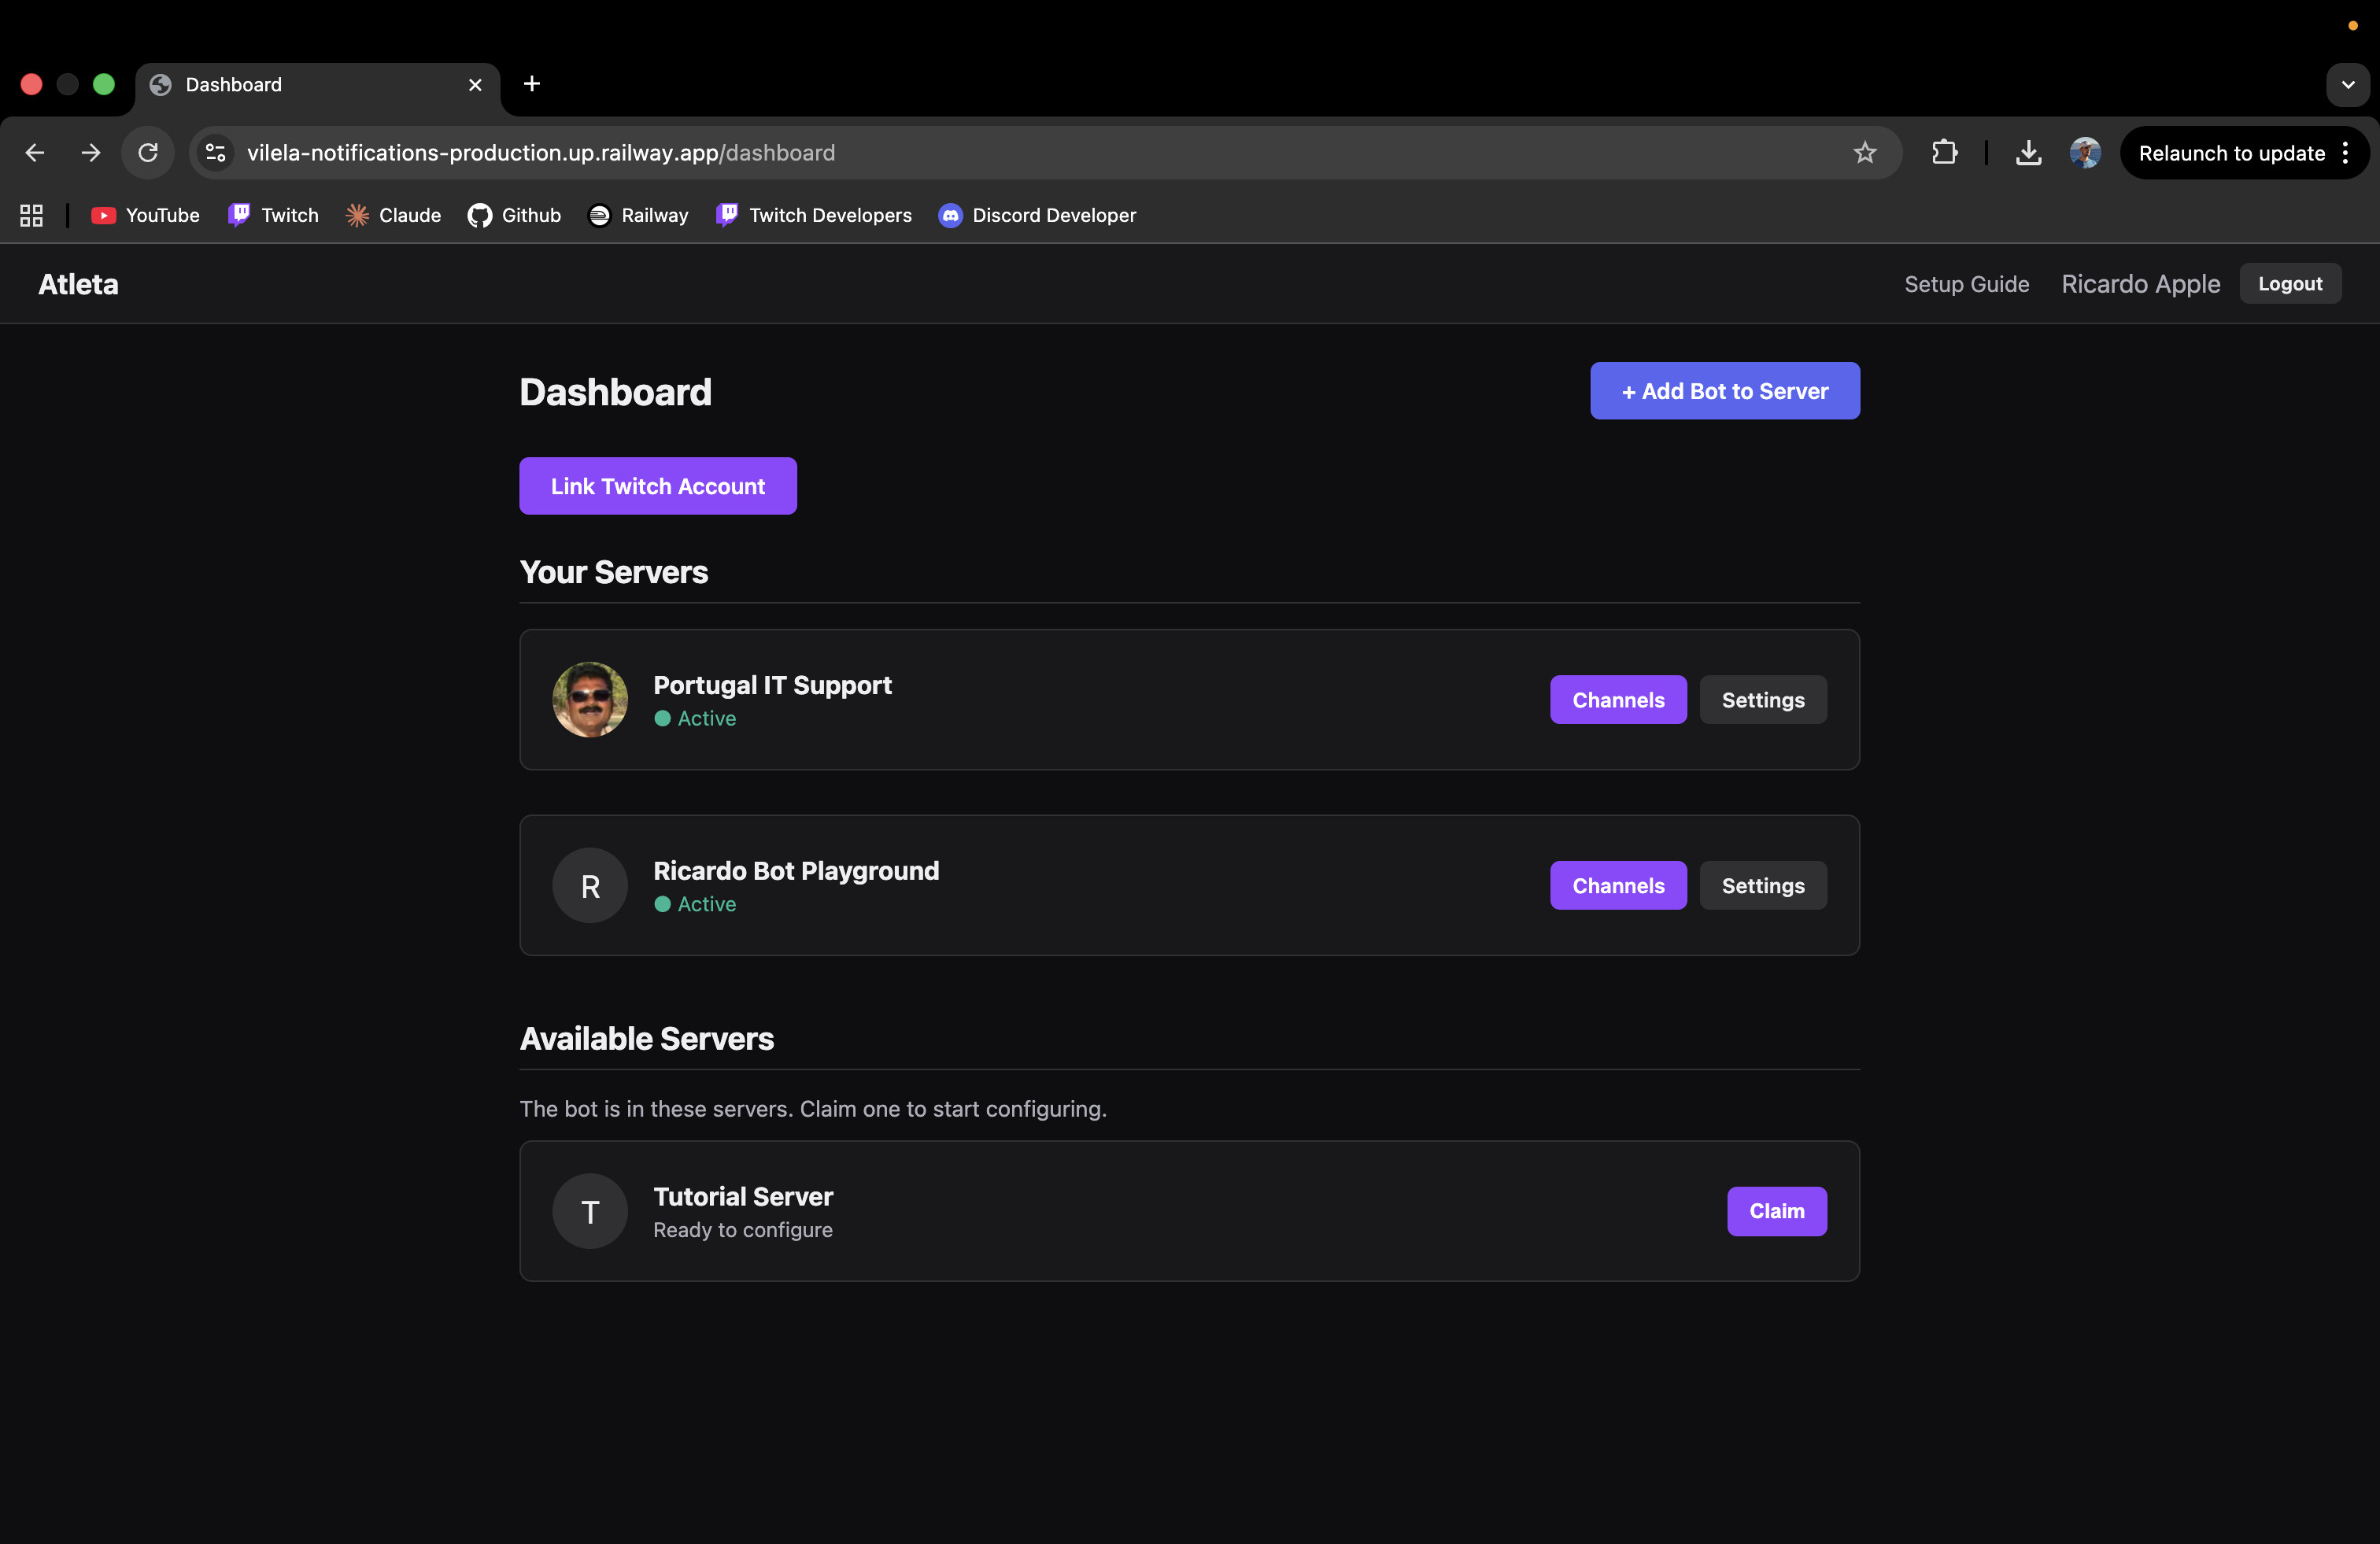
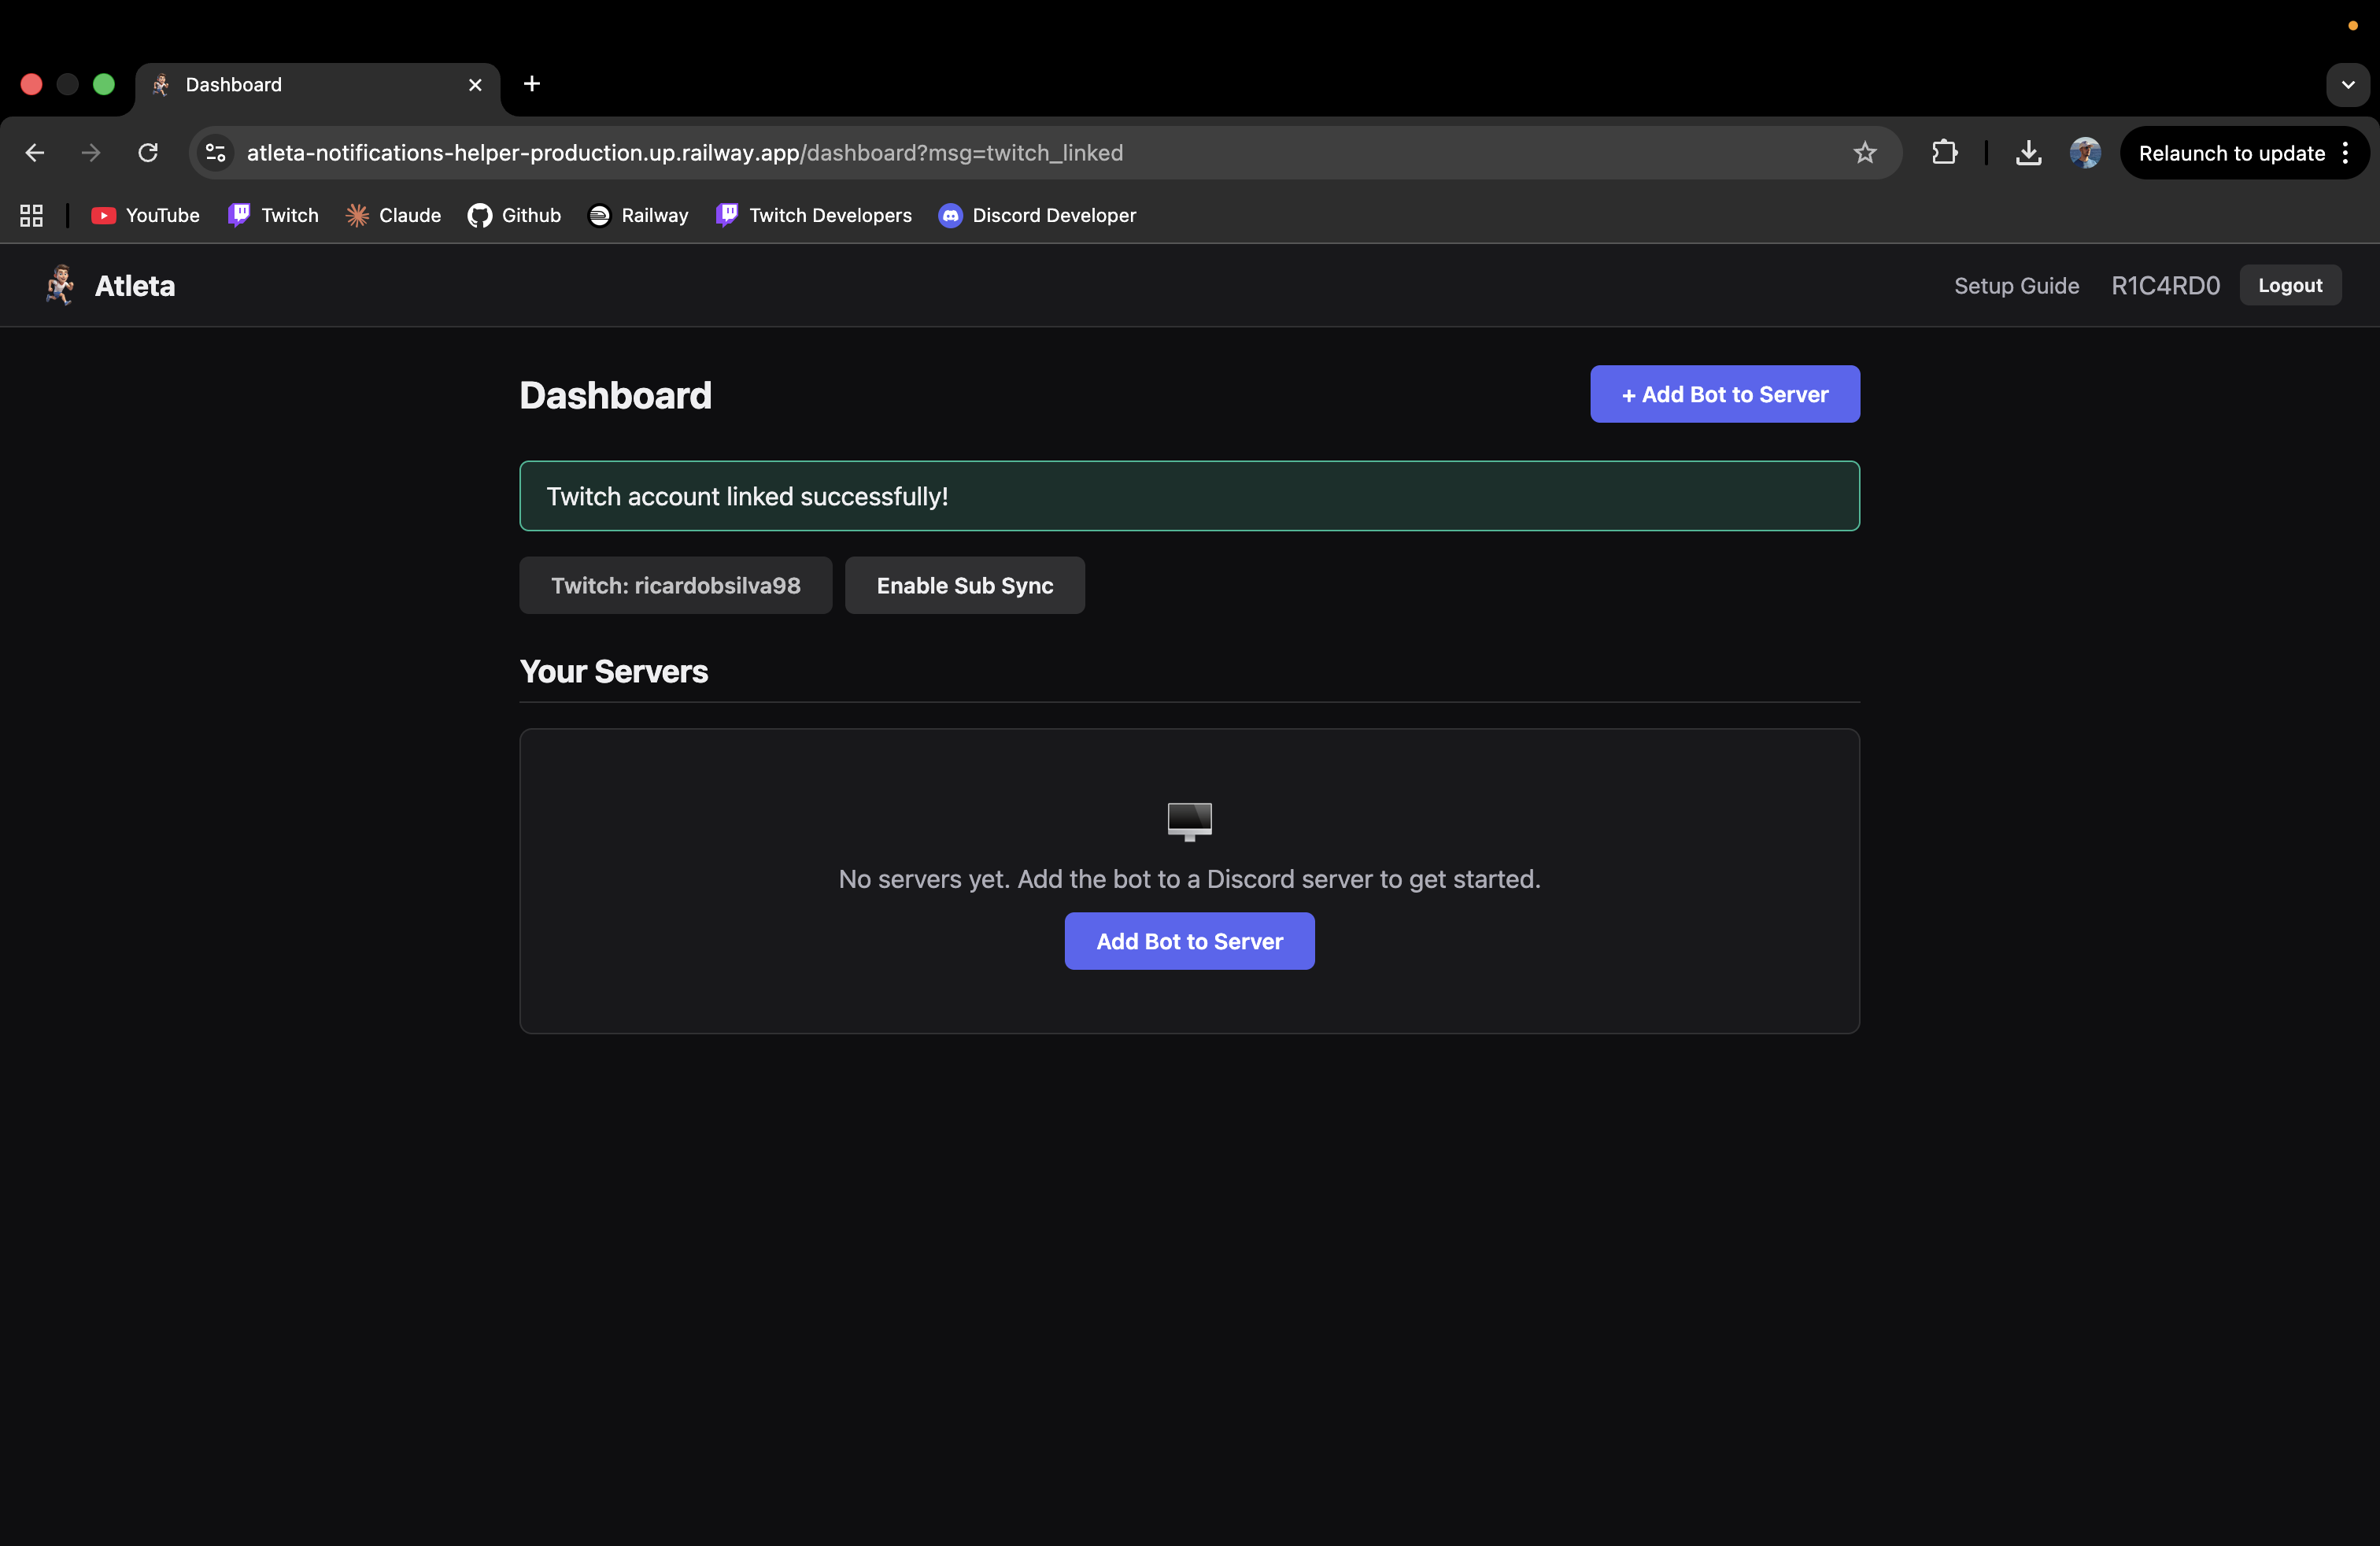
From the dashboard, click "Link Twitch Account" if you want to enable subscriber role sync for your own channel. This step is optional — you can watch any Twitch channel without linking.
Click "+ Add Bot to Server" from the dashboard. This opens Discord's authorization page in a new tab.
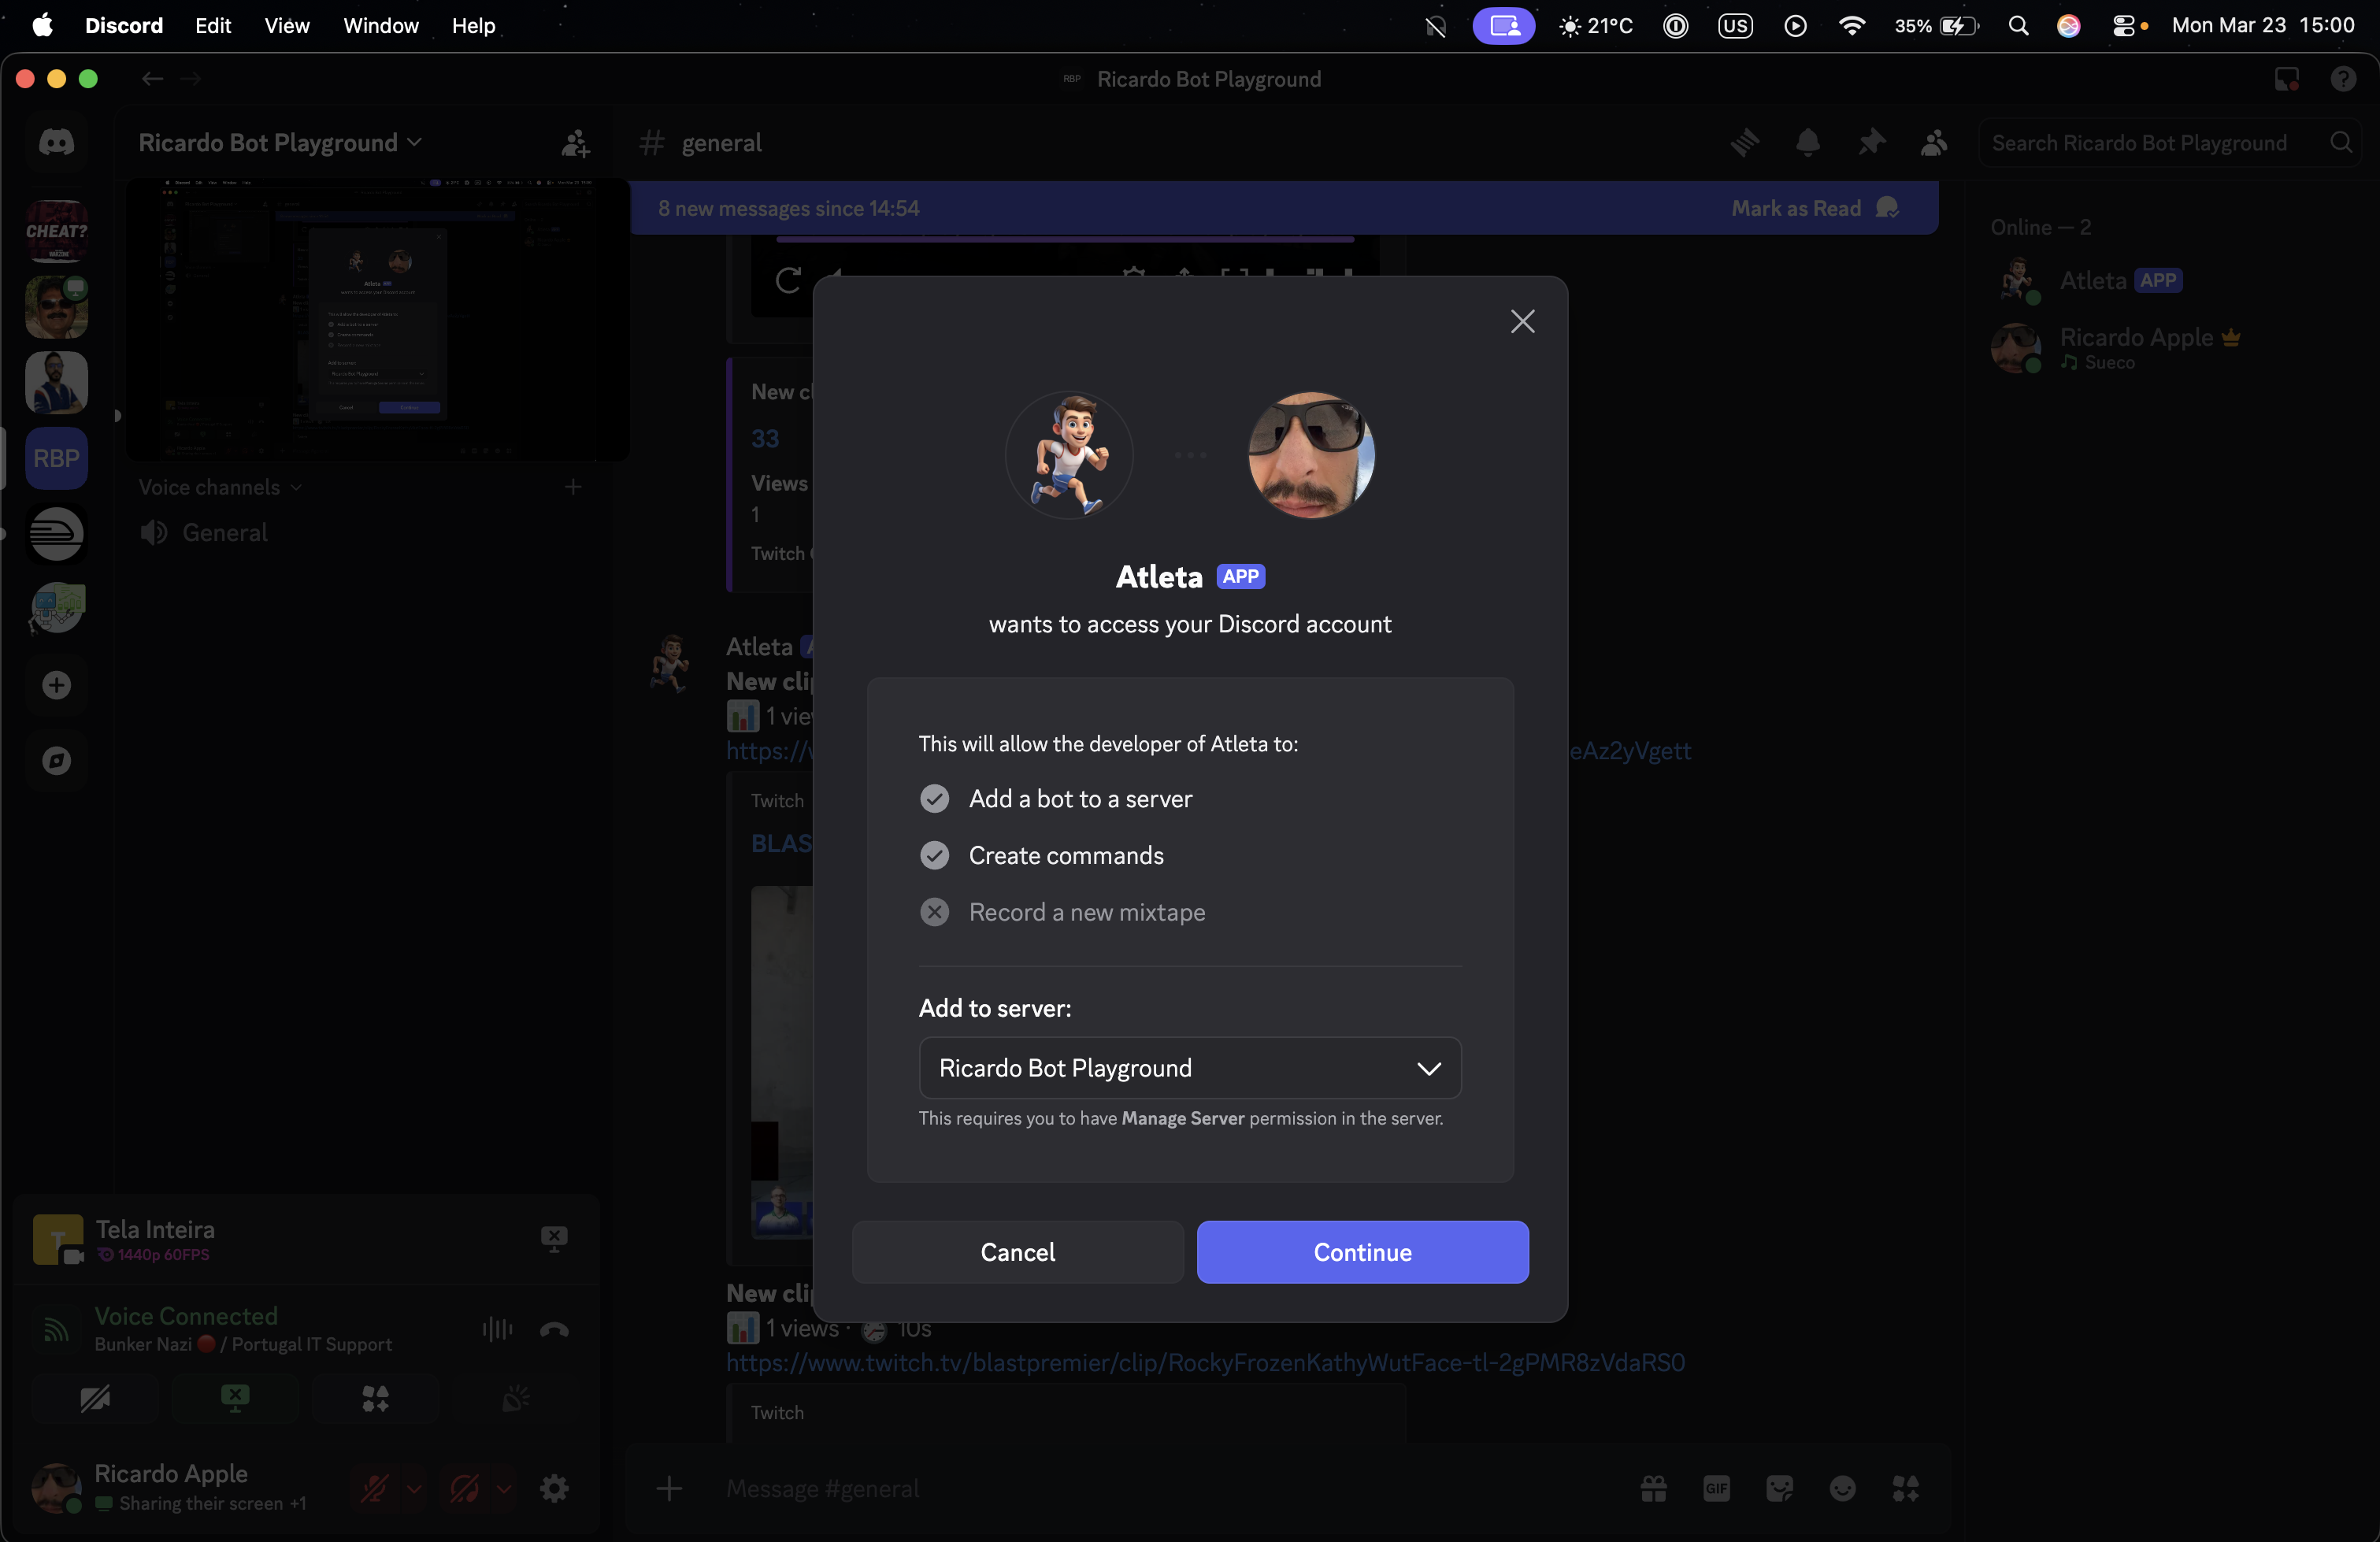
Select which server you want to add the bot to and click "Continue".
After adding the bot, your server will appear under "Available Servers" on the dashboard. Click "Claim" to link it to your account.
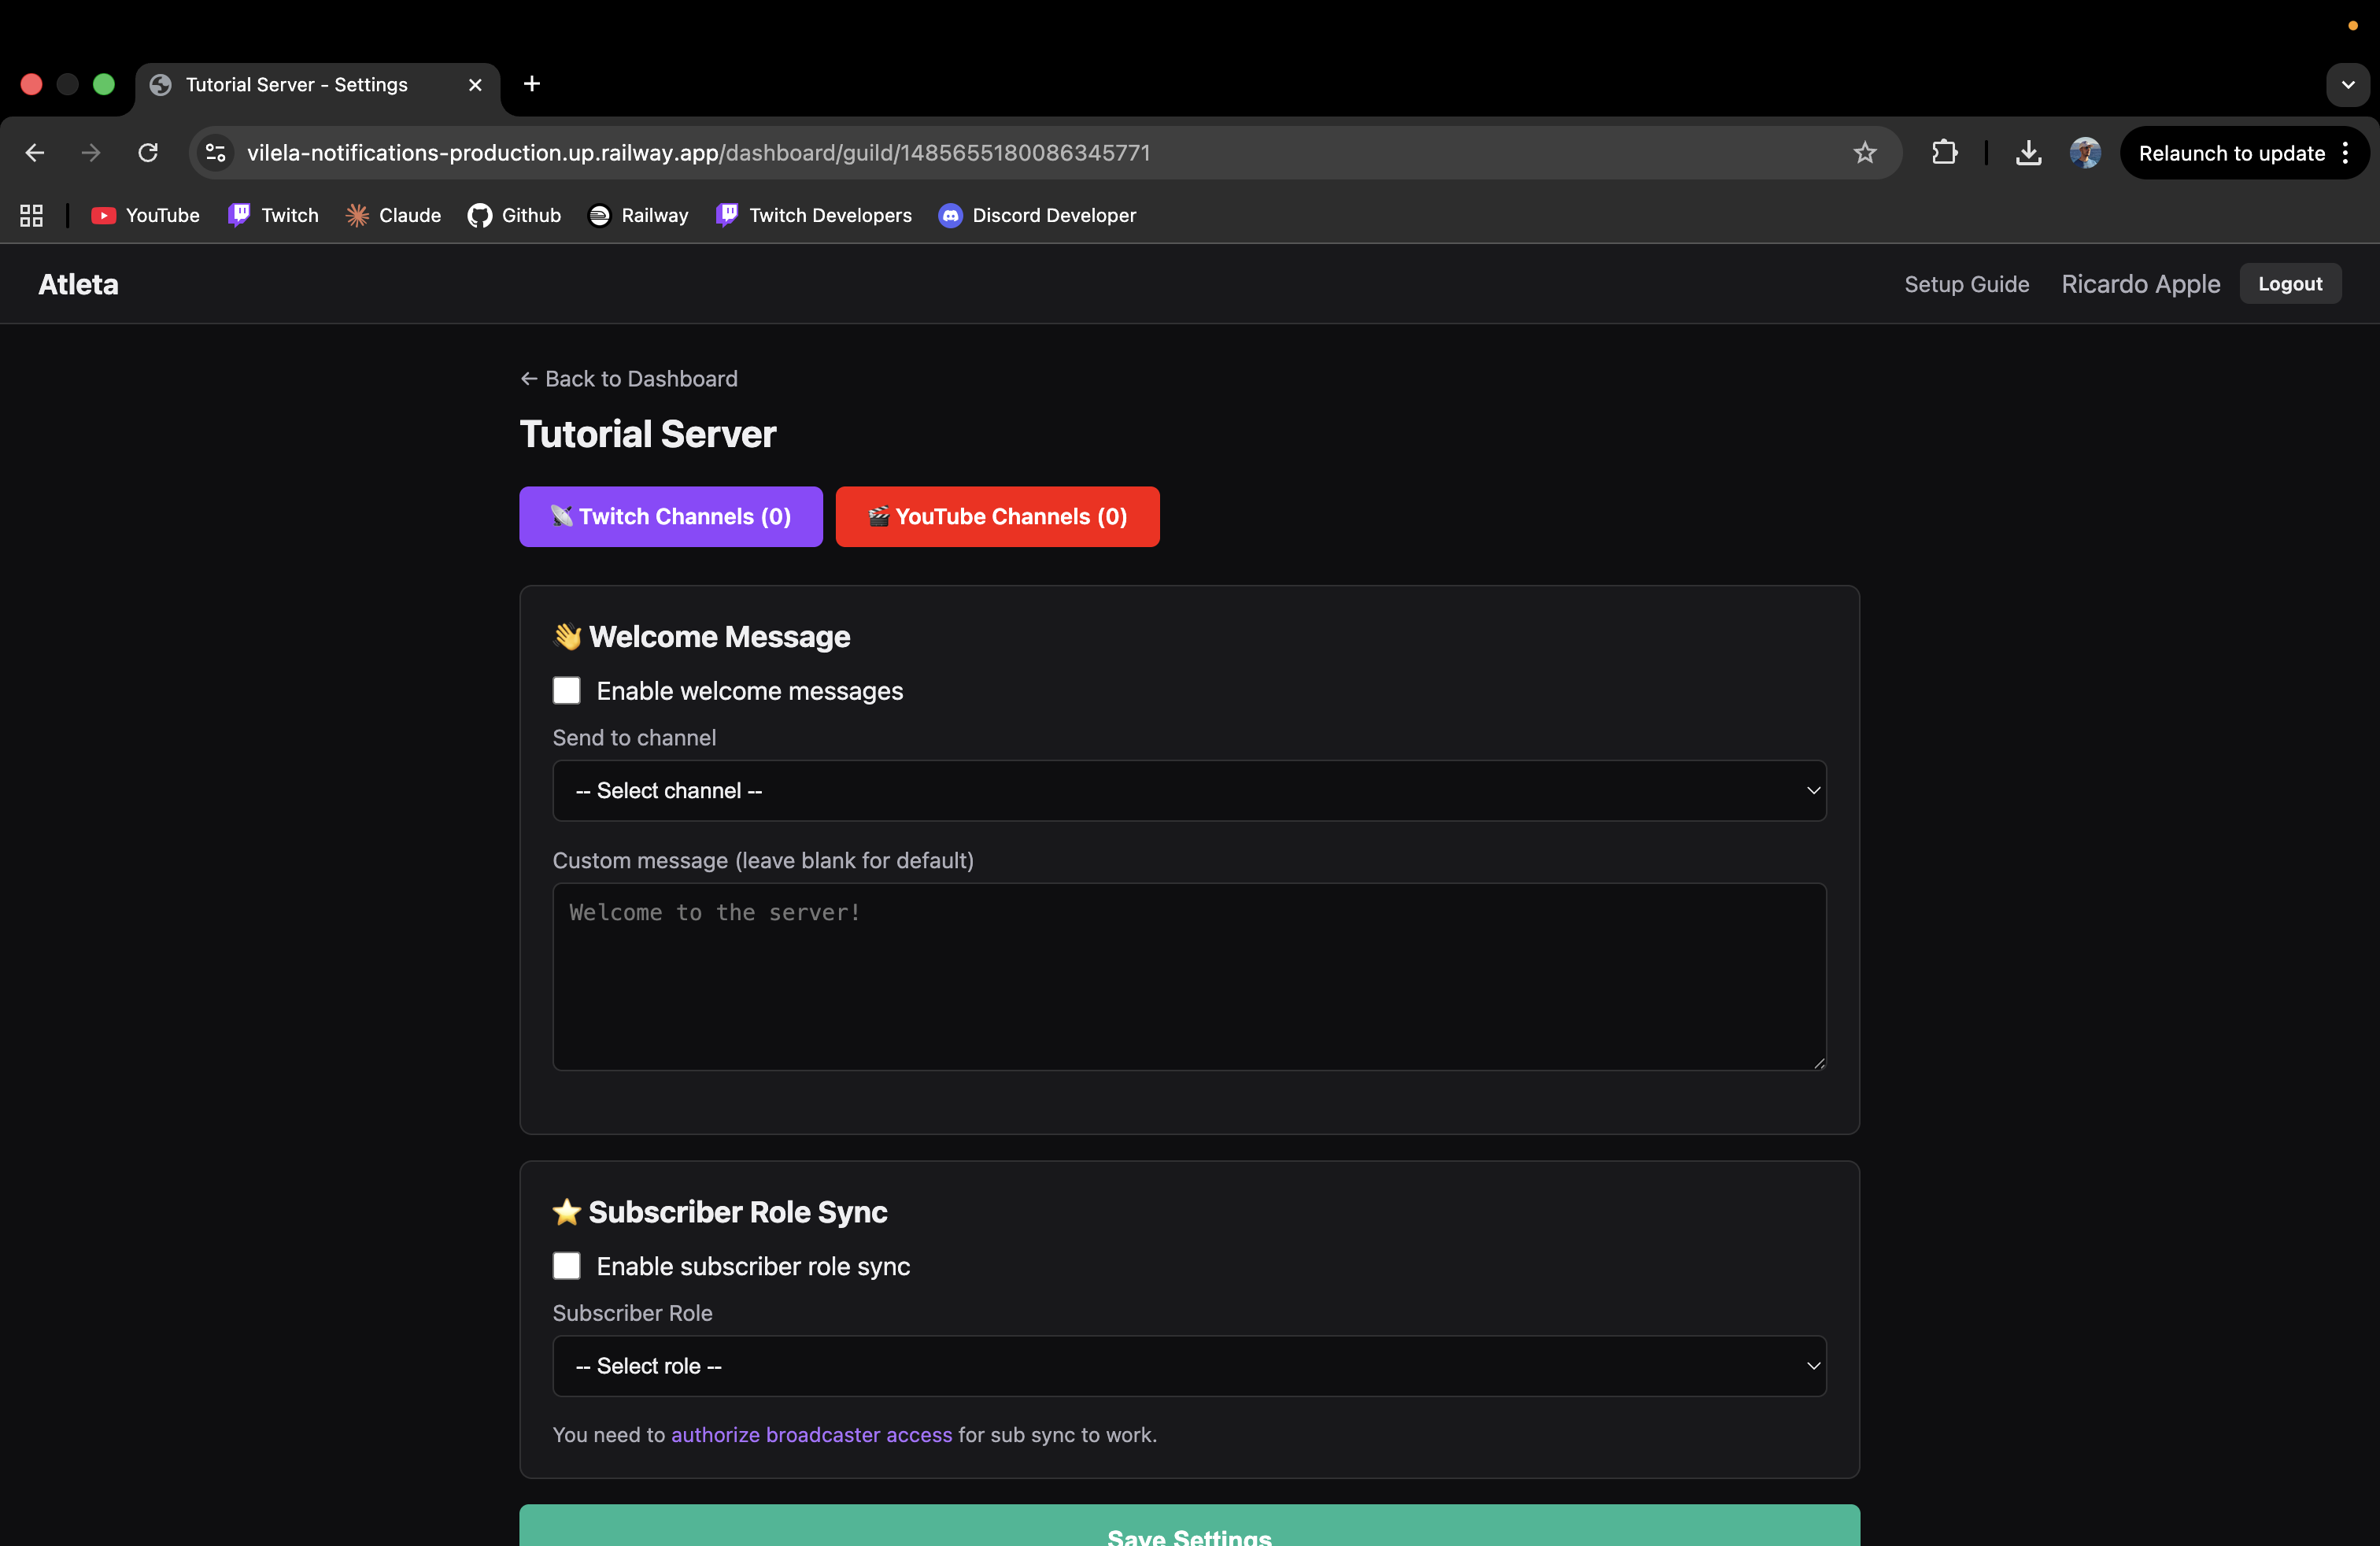
Once claimed, you'll see the server settings page where you can configure welcome messages, subscriber role sync, and more.
Click the "Twitch Channels" button on your server to manage which Twitch streamers you want notifications for.

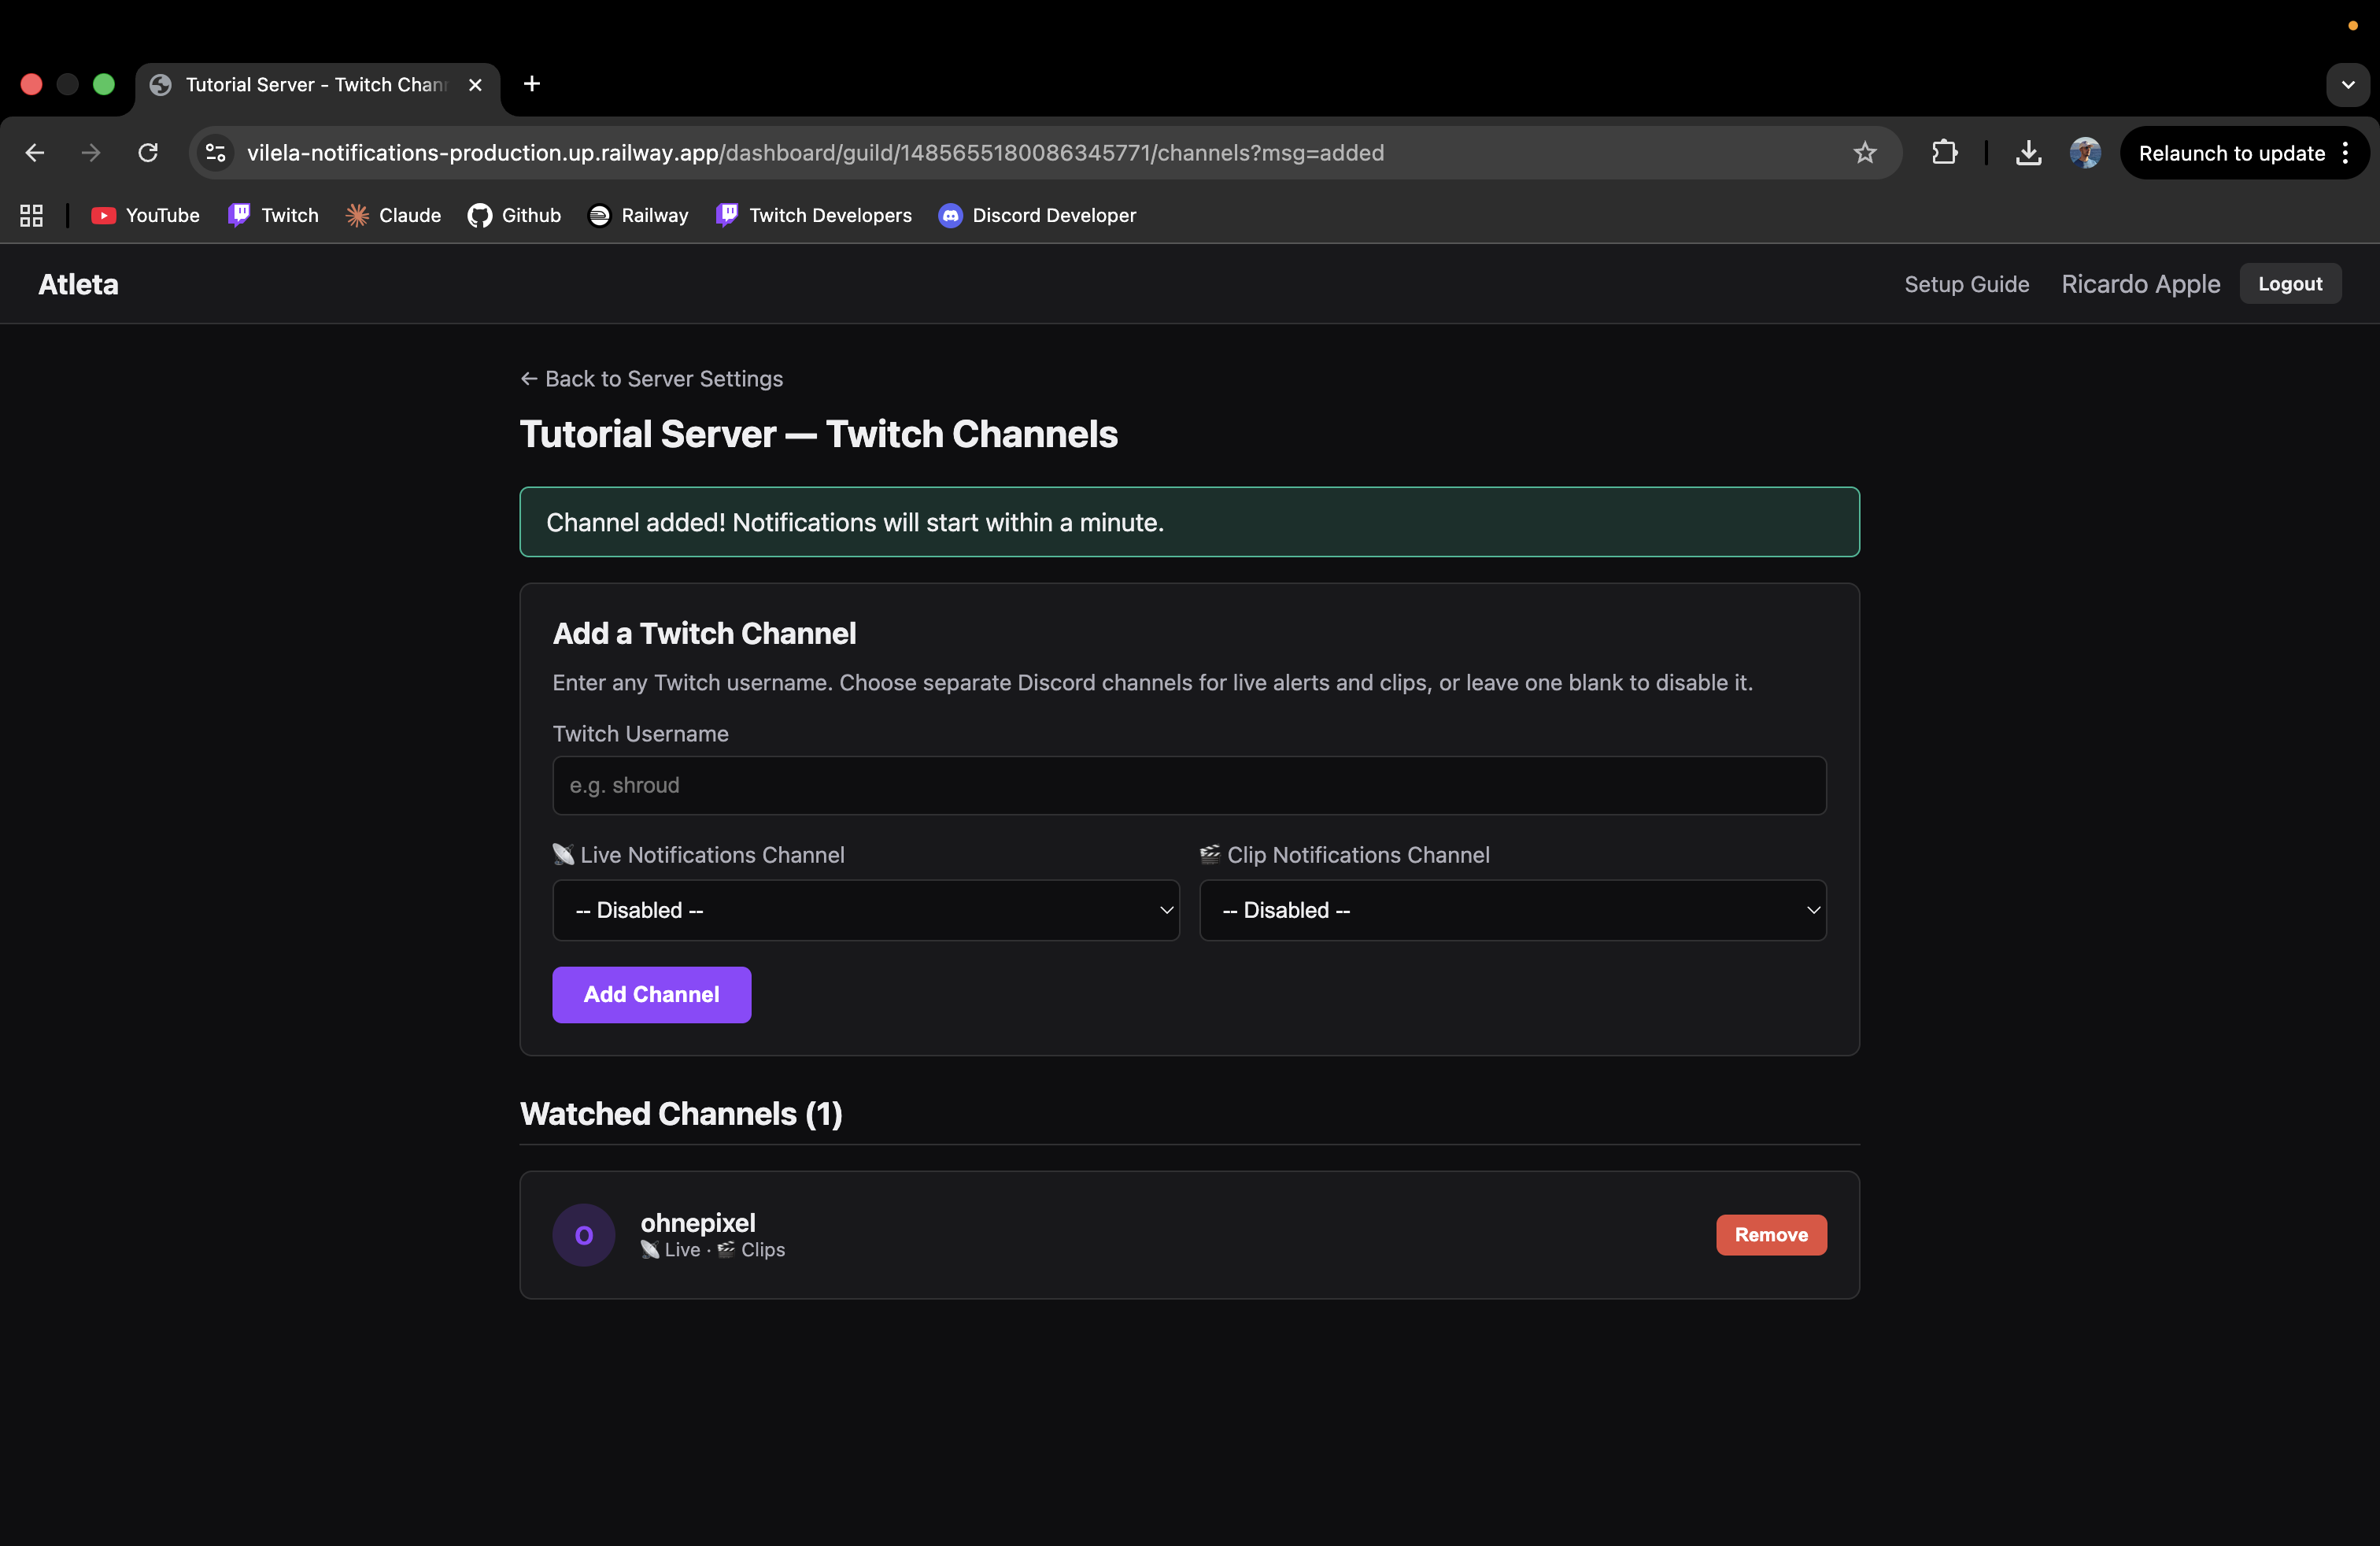
You'll see the Twitch Channels page. Enter any Twitch username and choose which Discord channels should receive live and clip notifications.
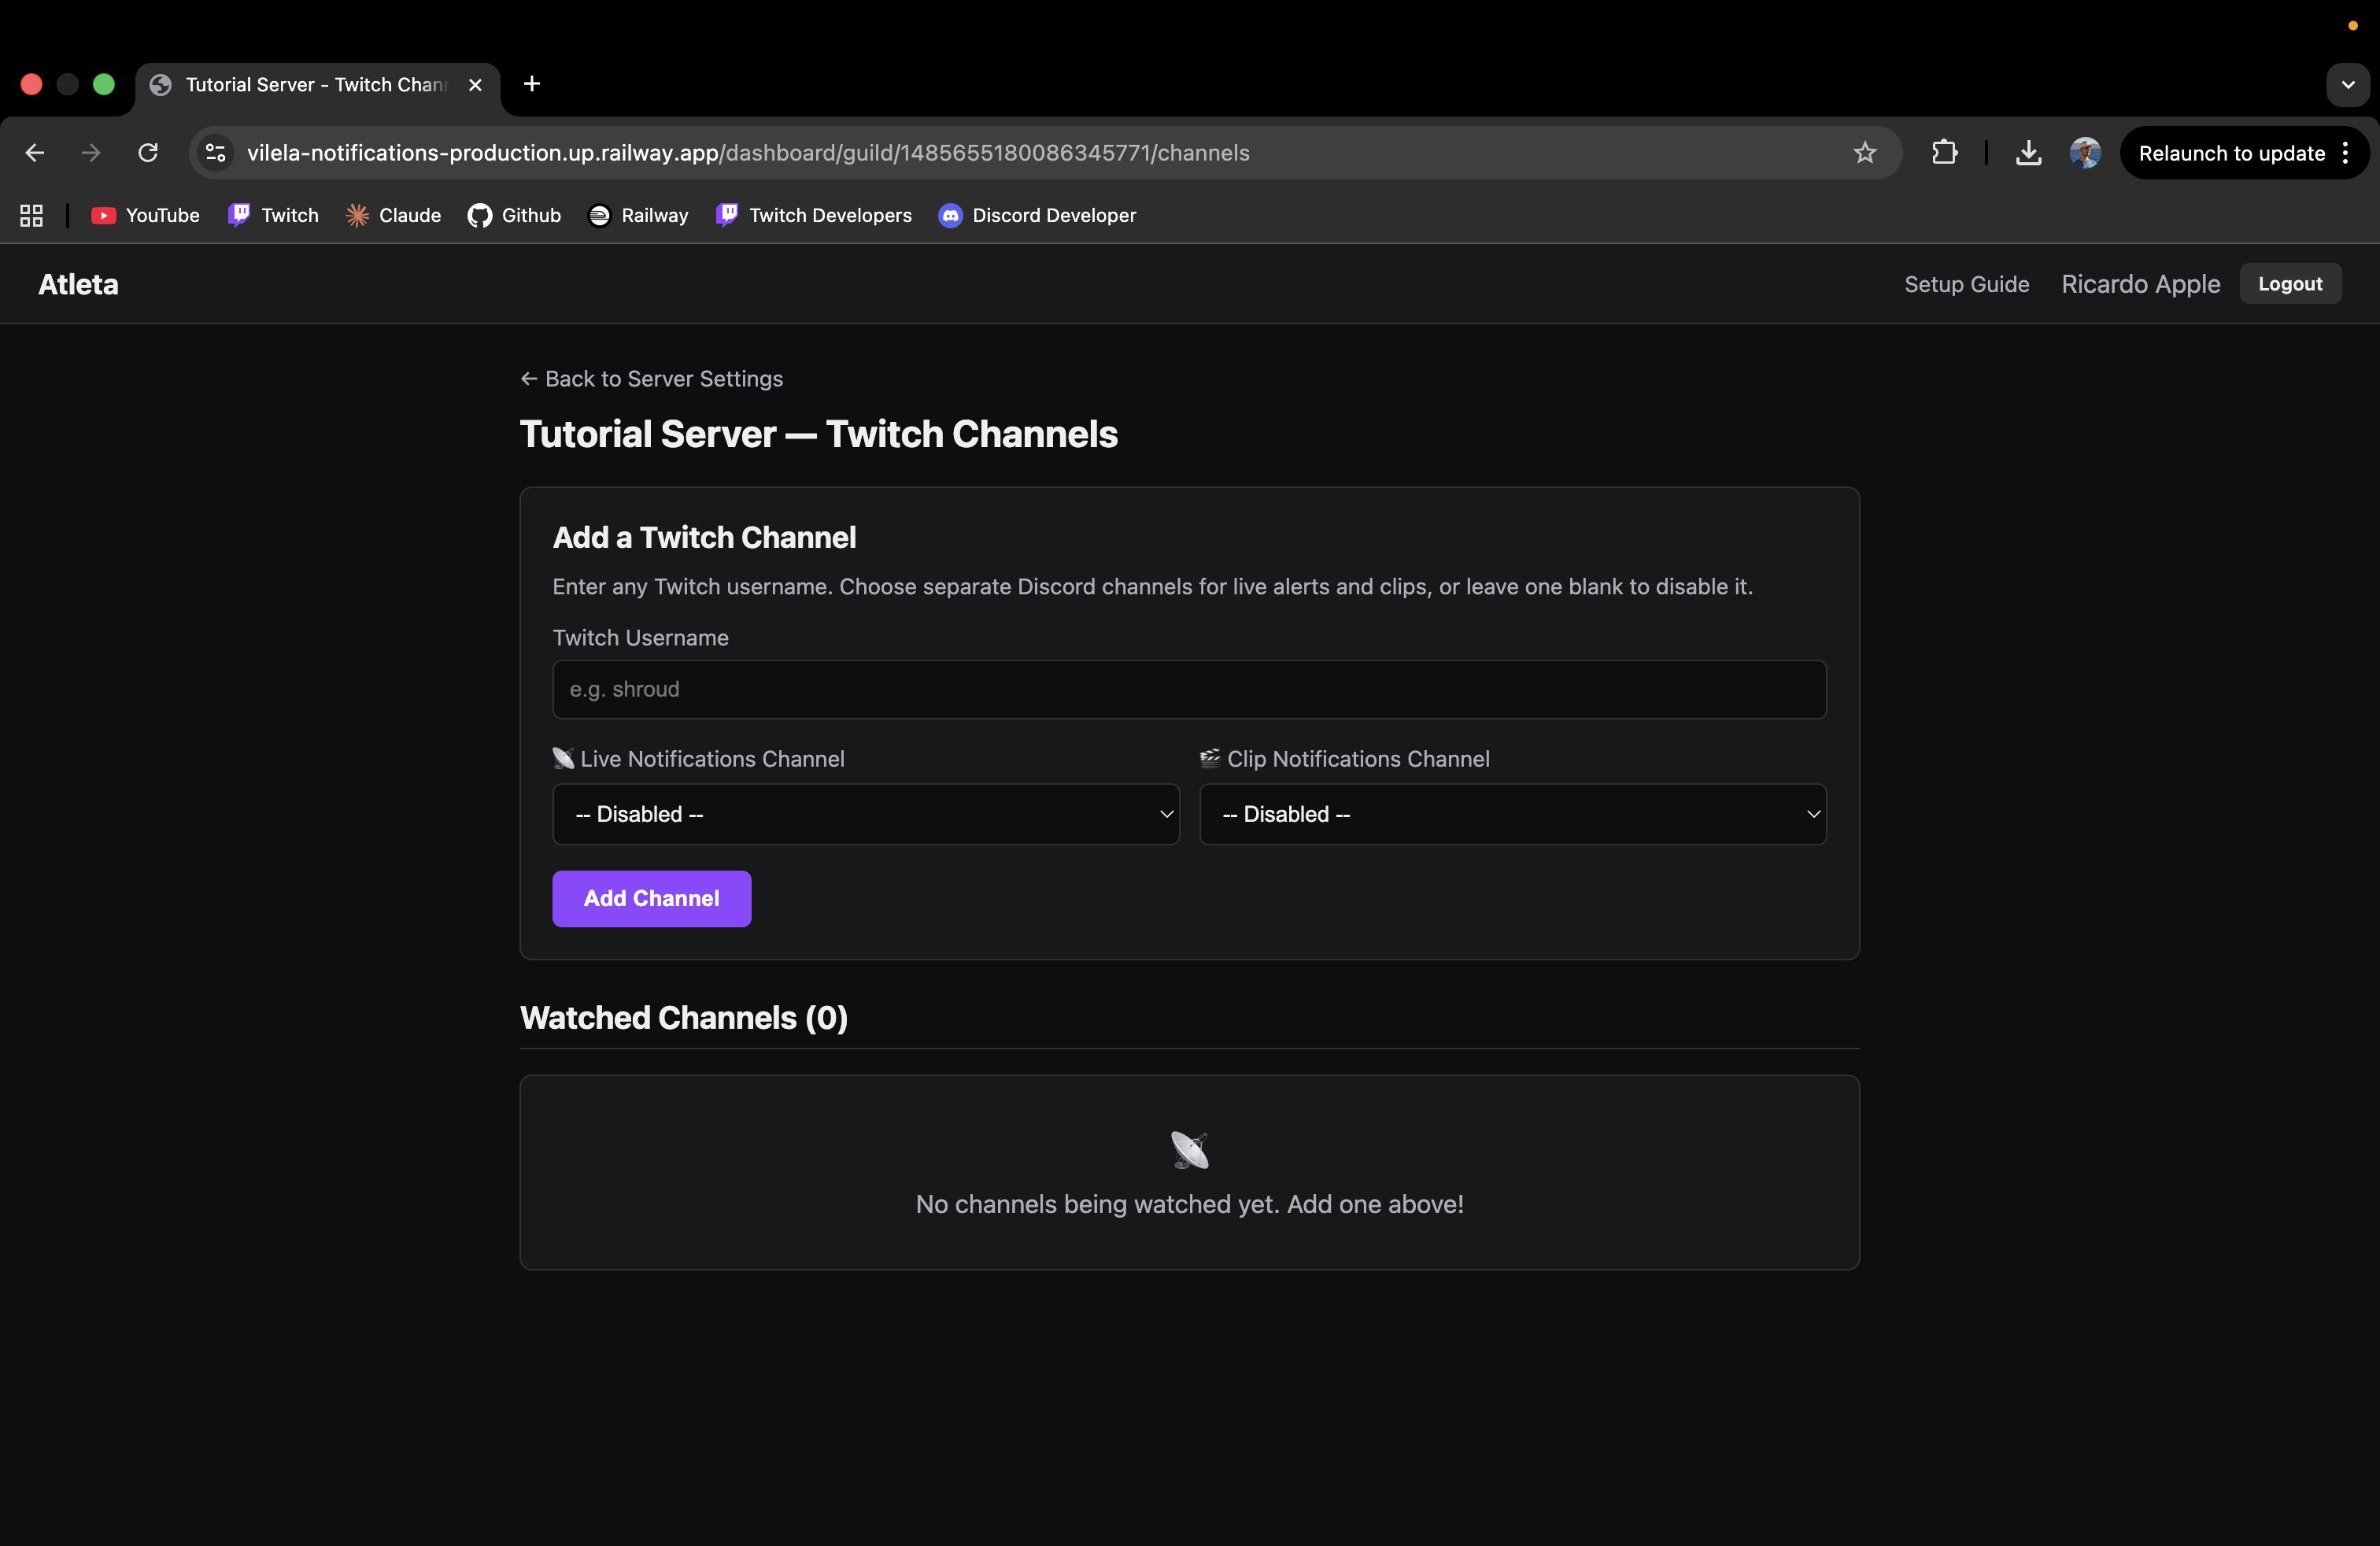
Fill in a Twitch username and select the notification channels. You can set different Discord channels for live alerts and clips, or leave one disabled.
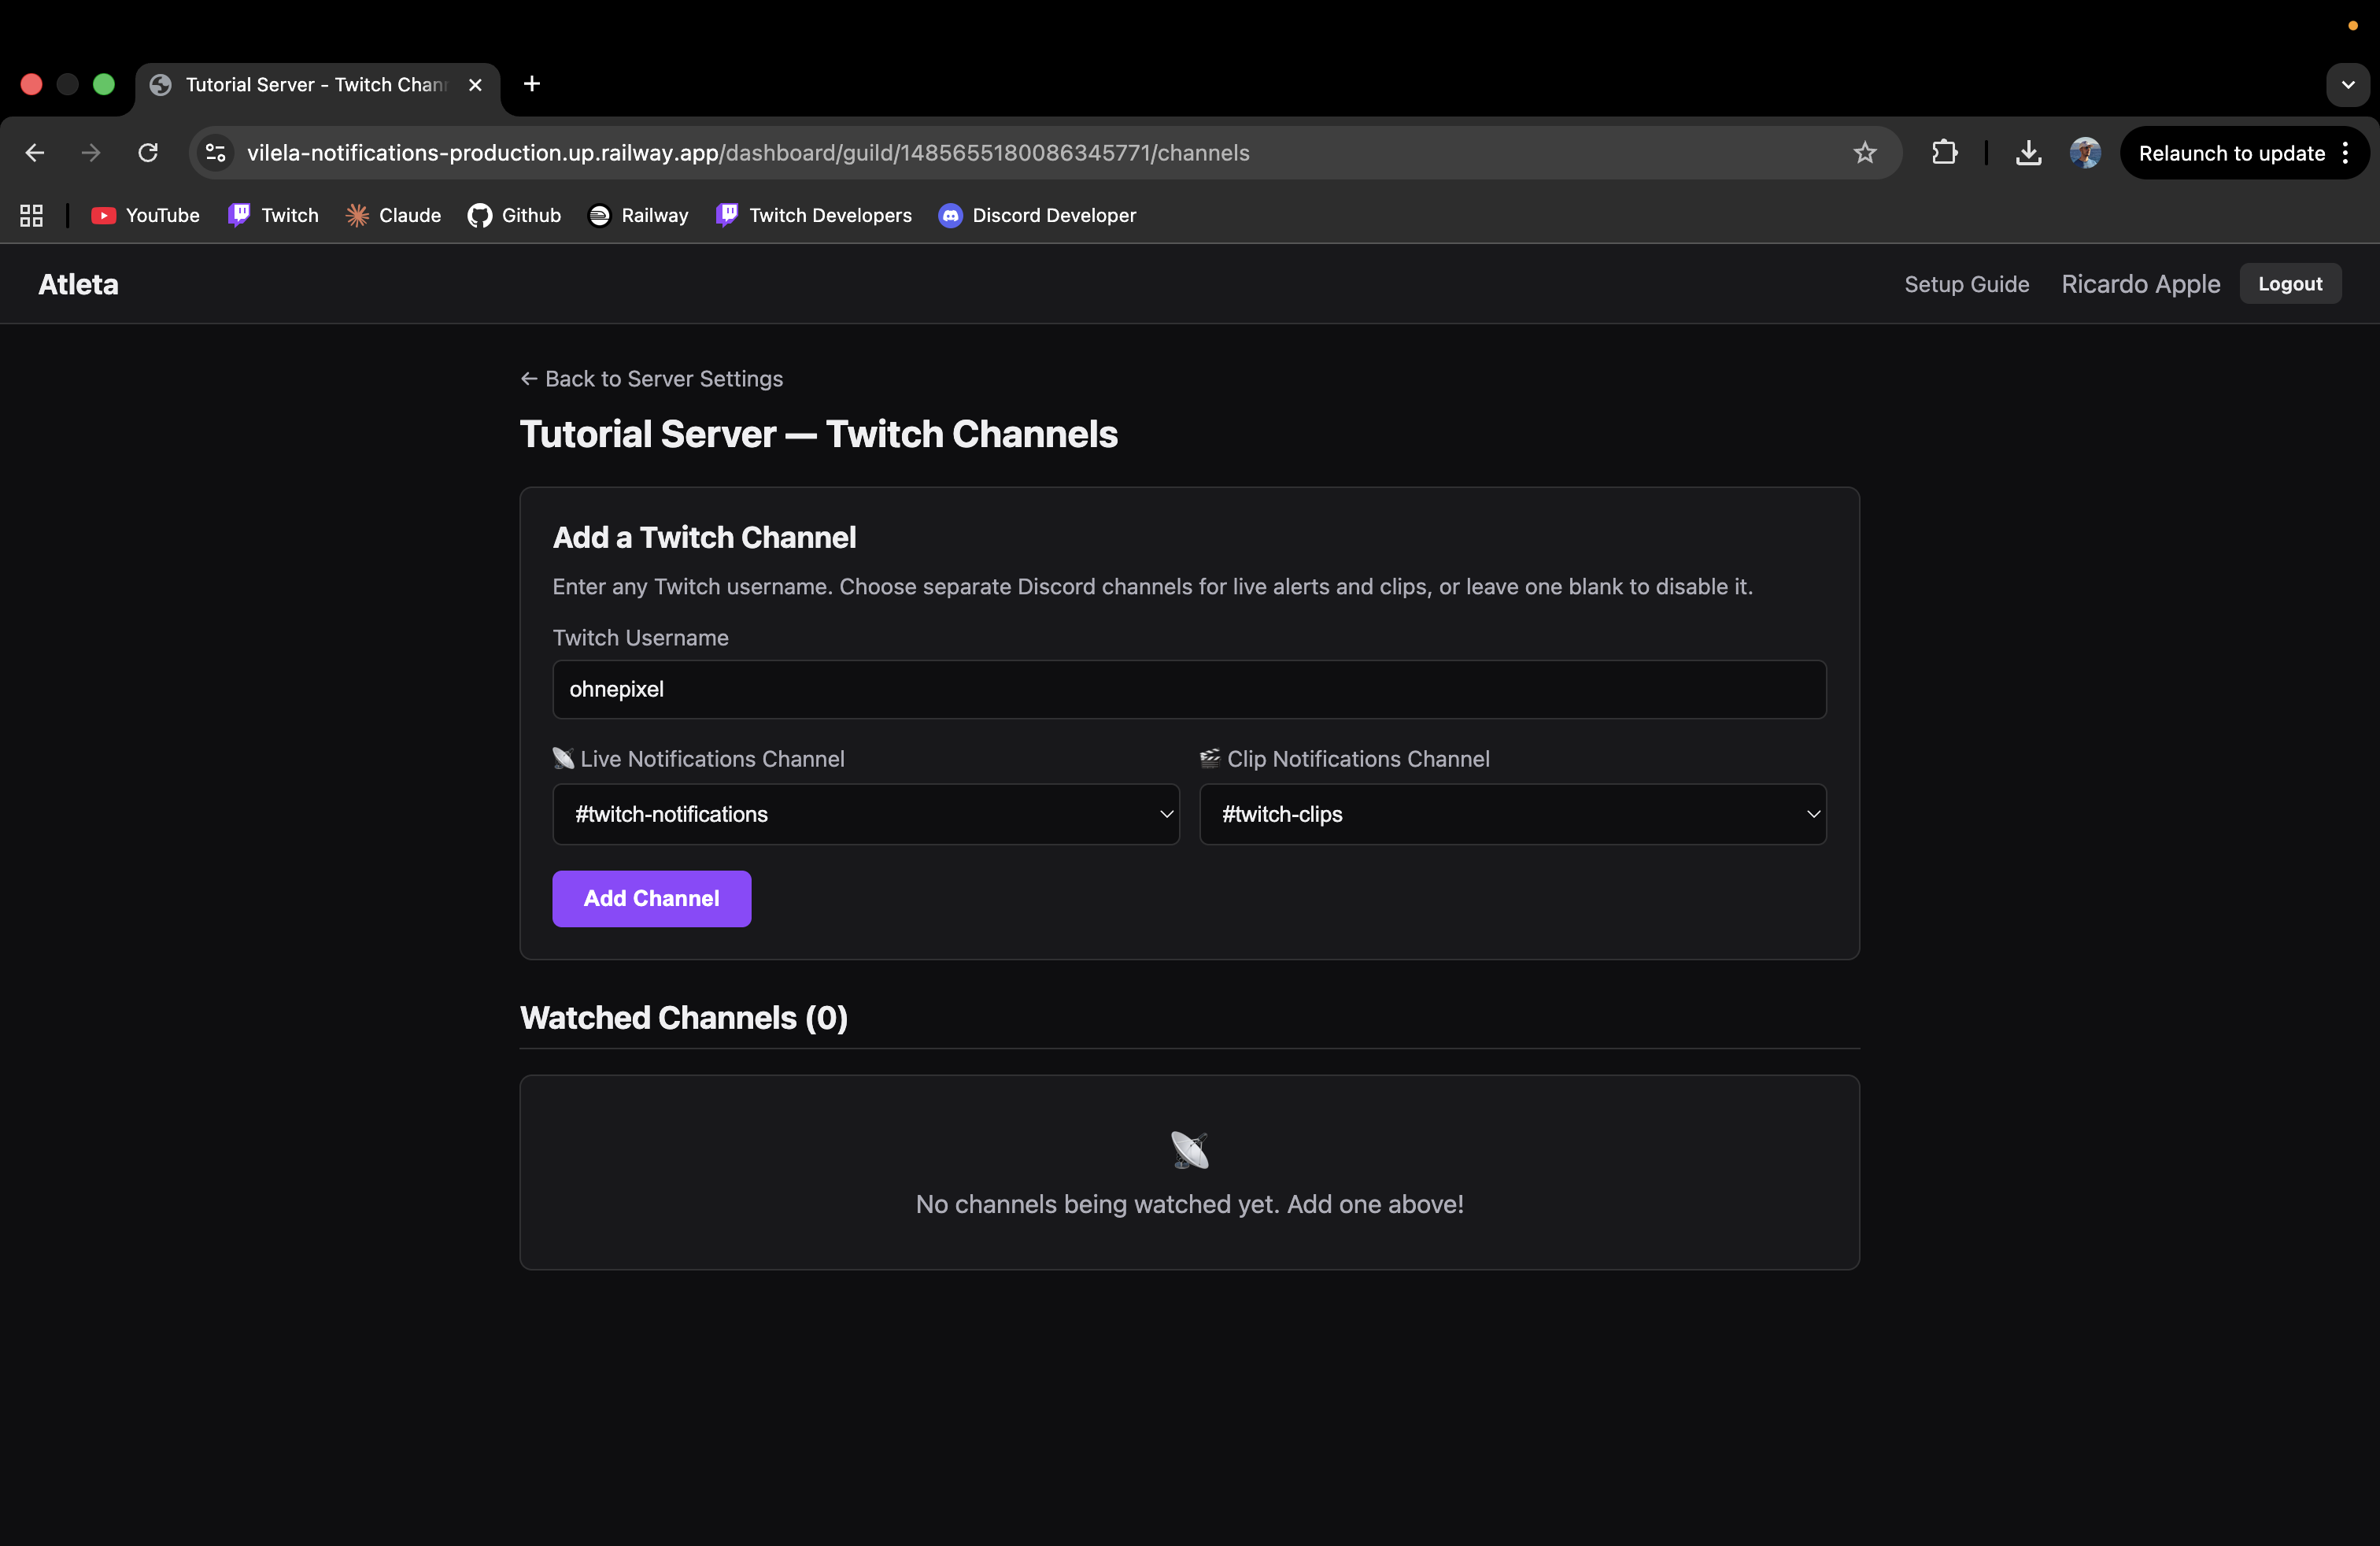
Click "Add Channel" and you're done! The channel will appear in your watched list and notifications will start within a minute.
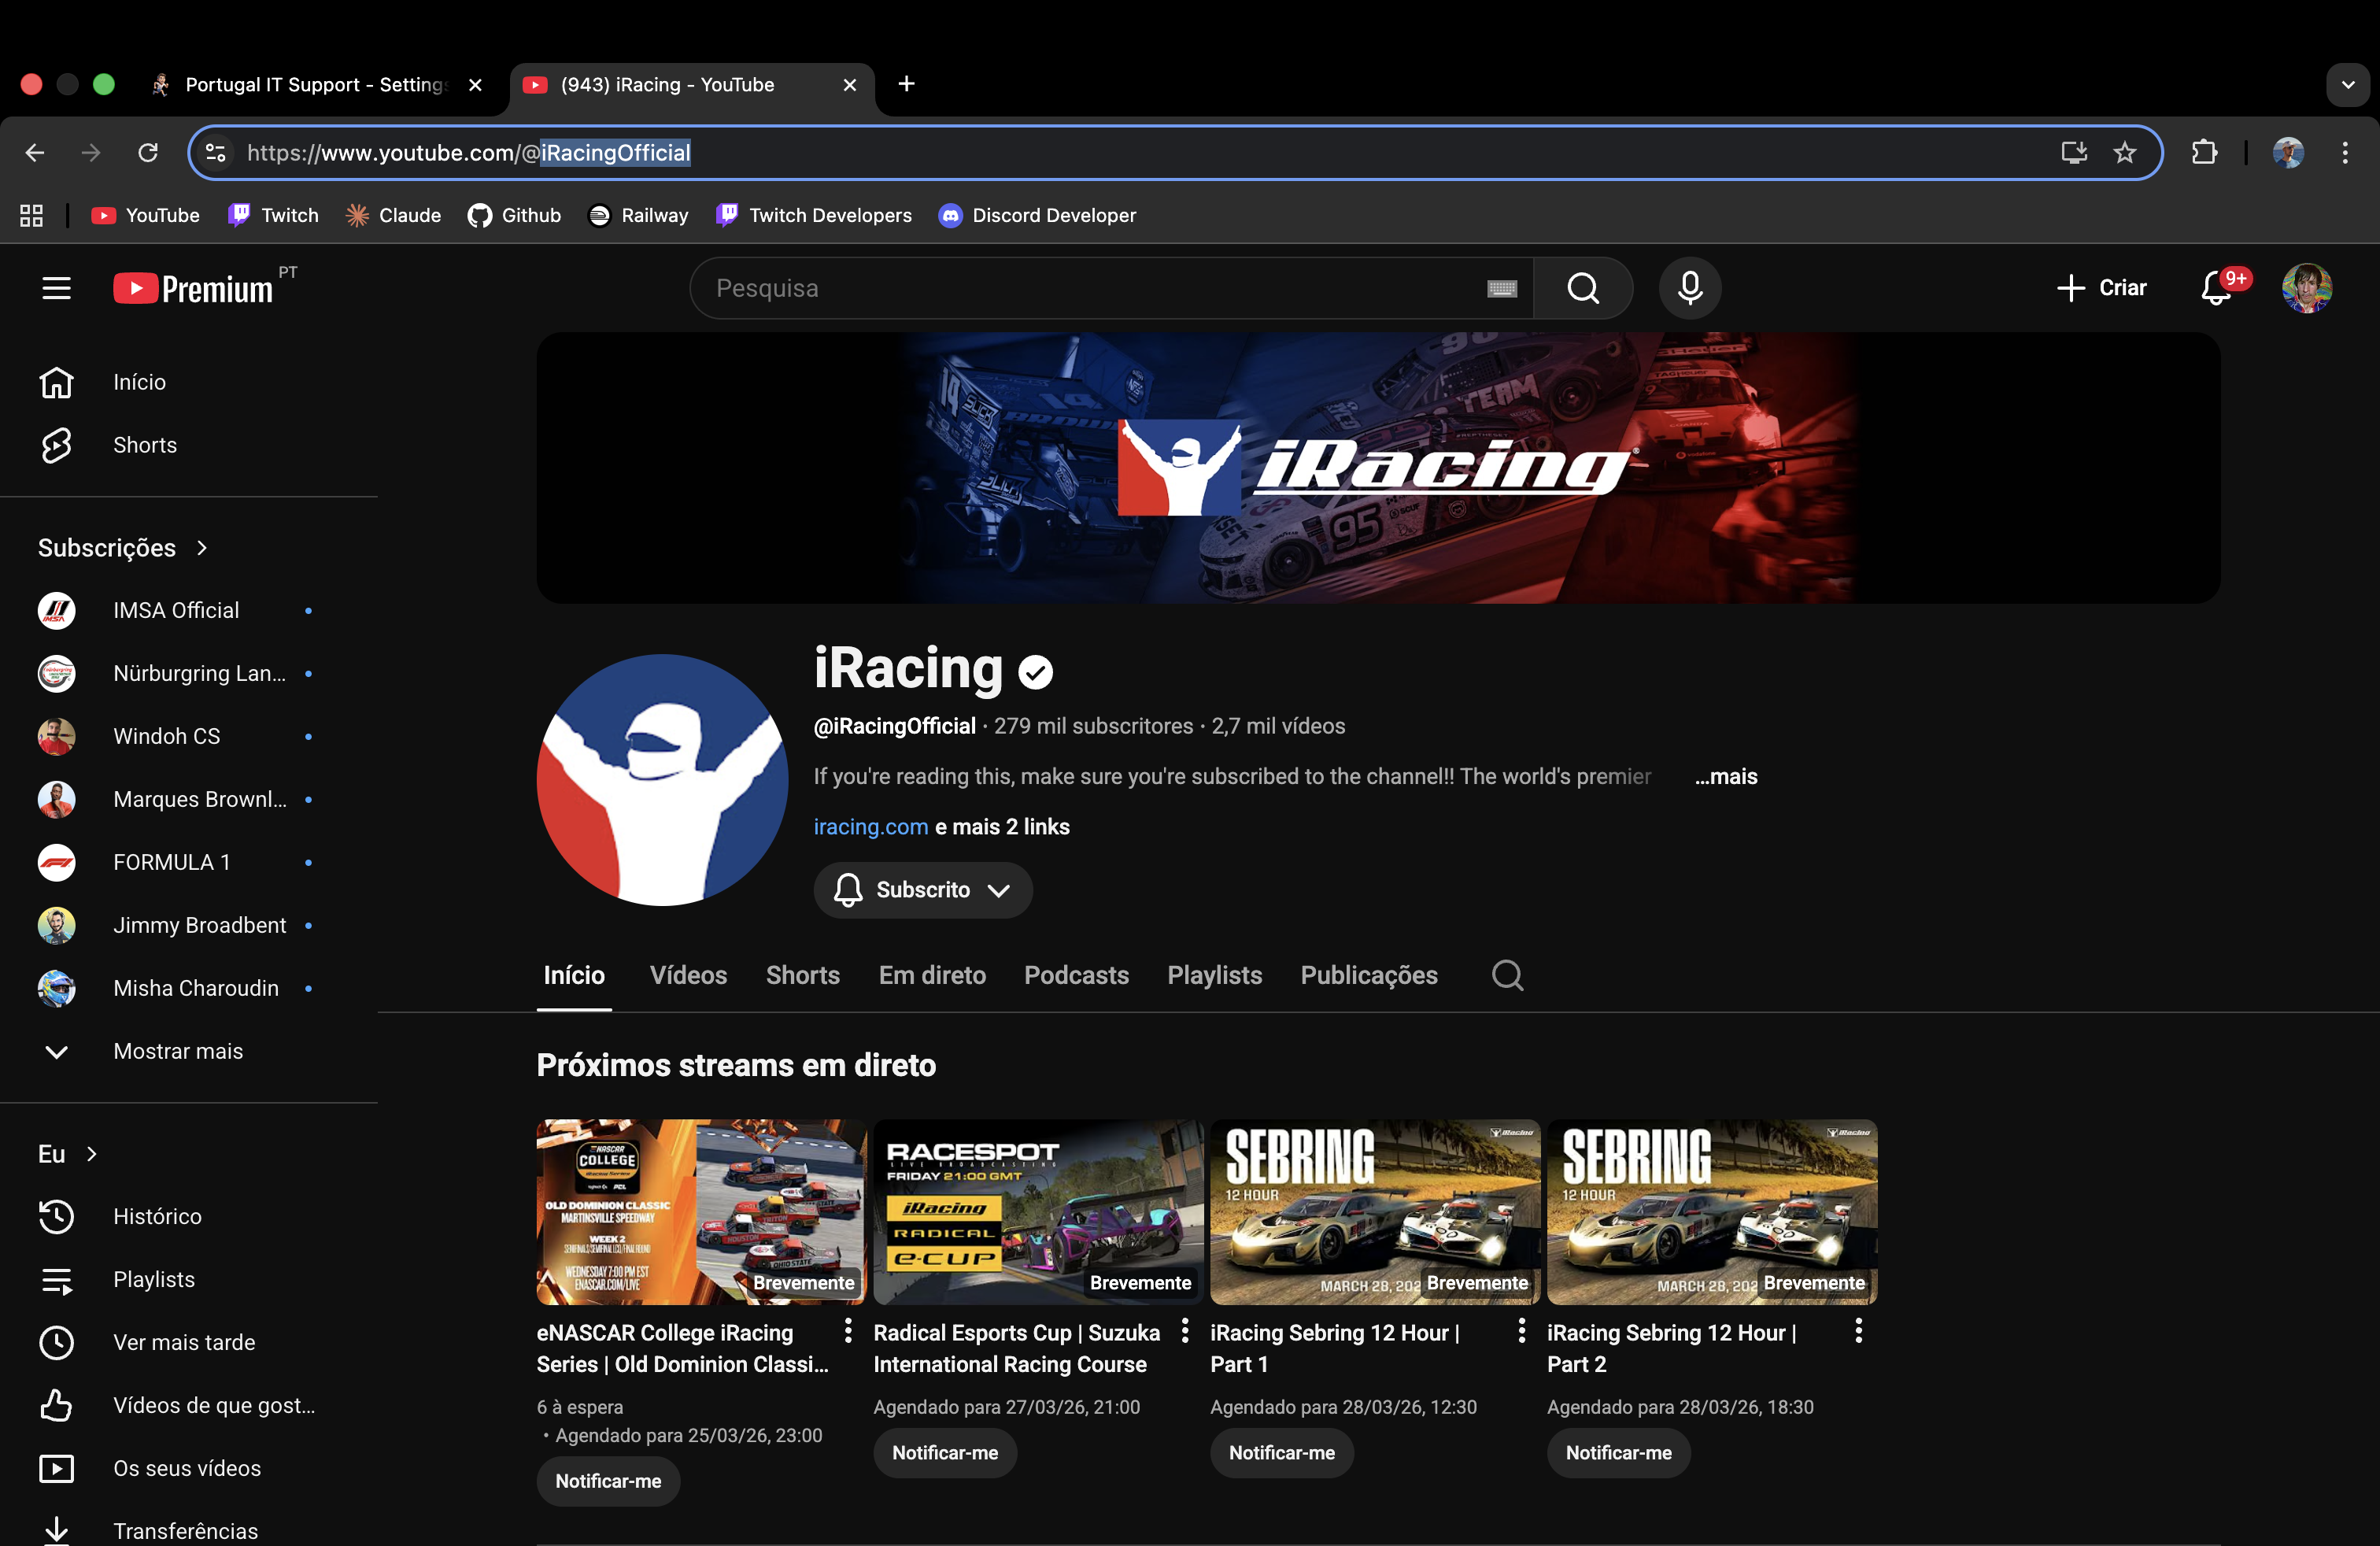
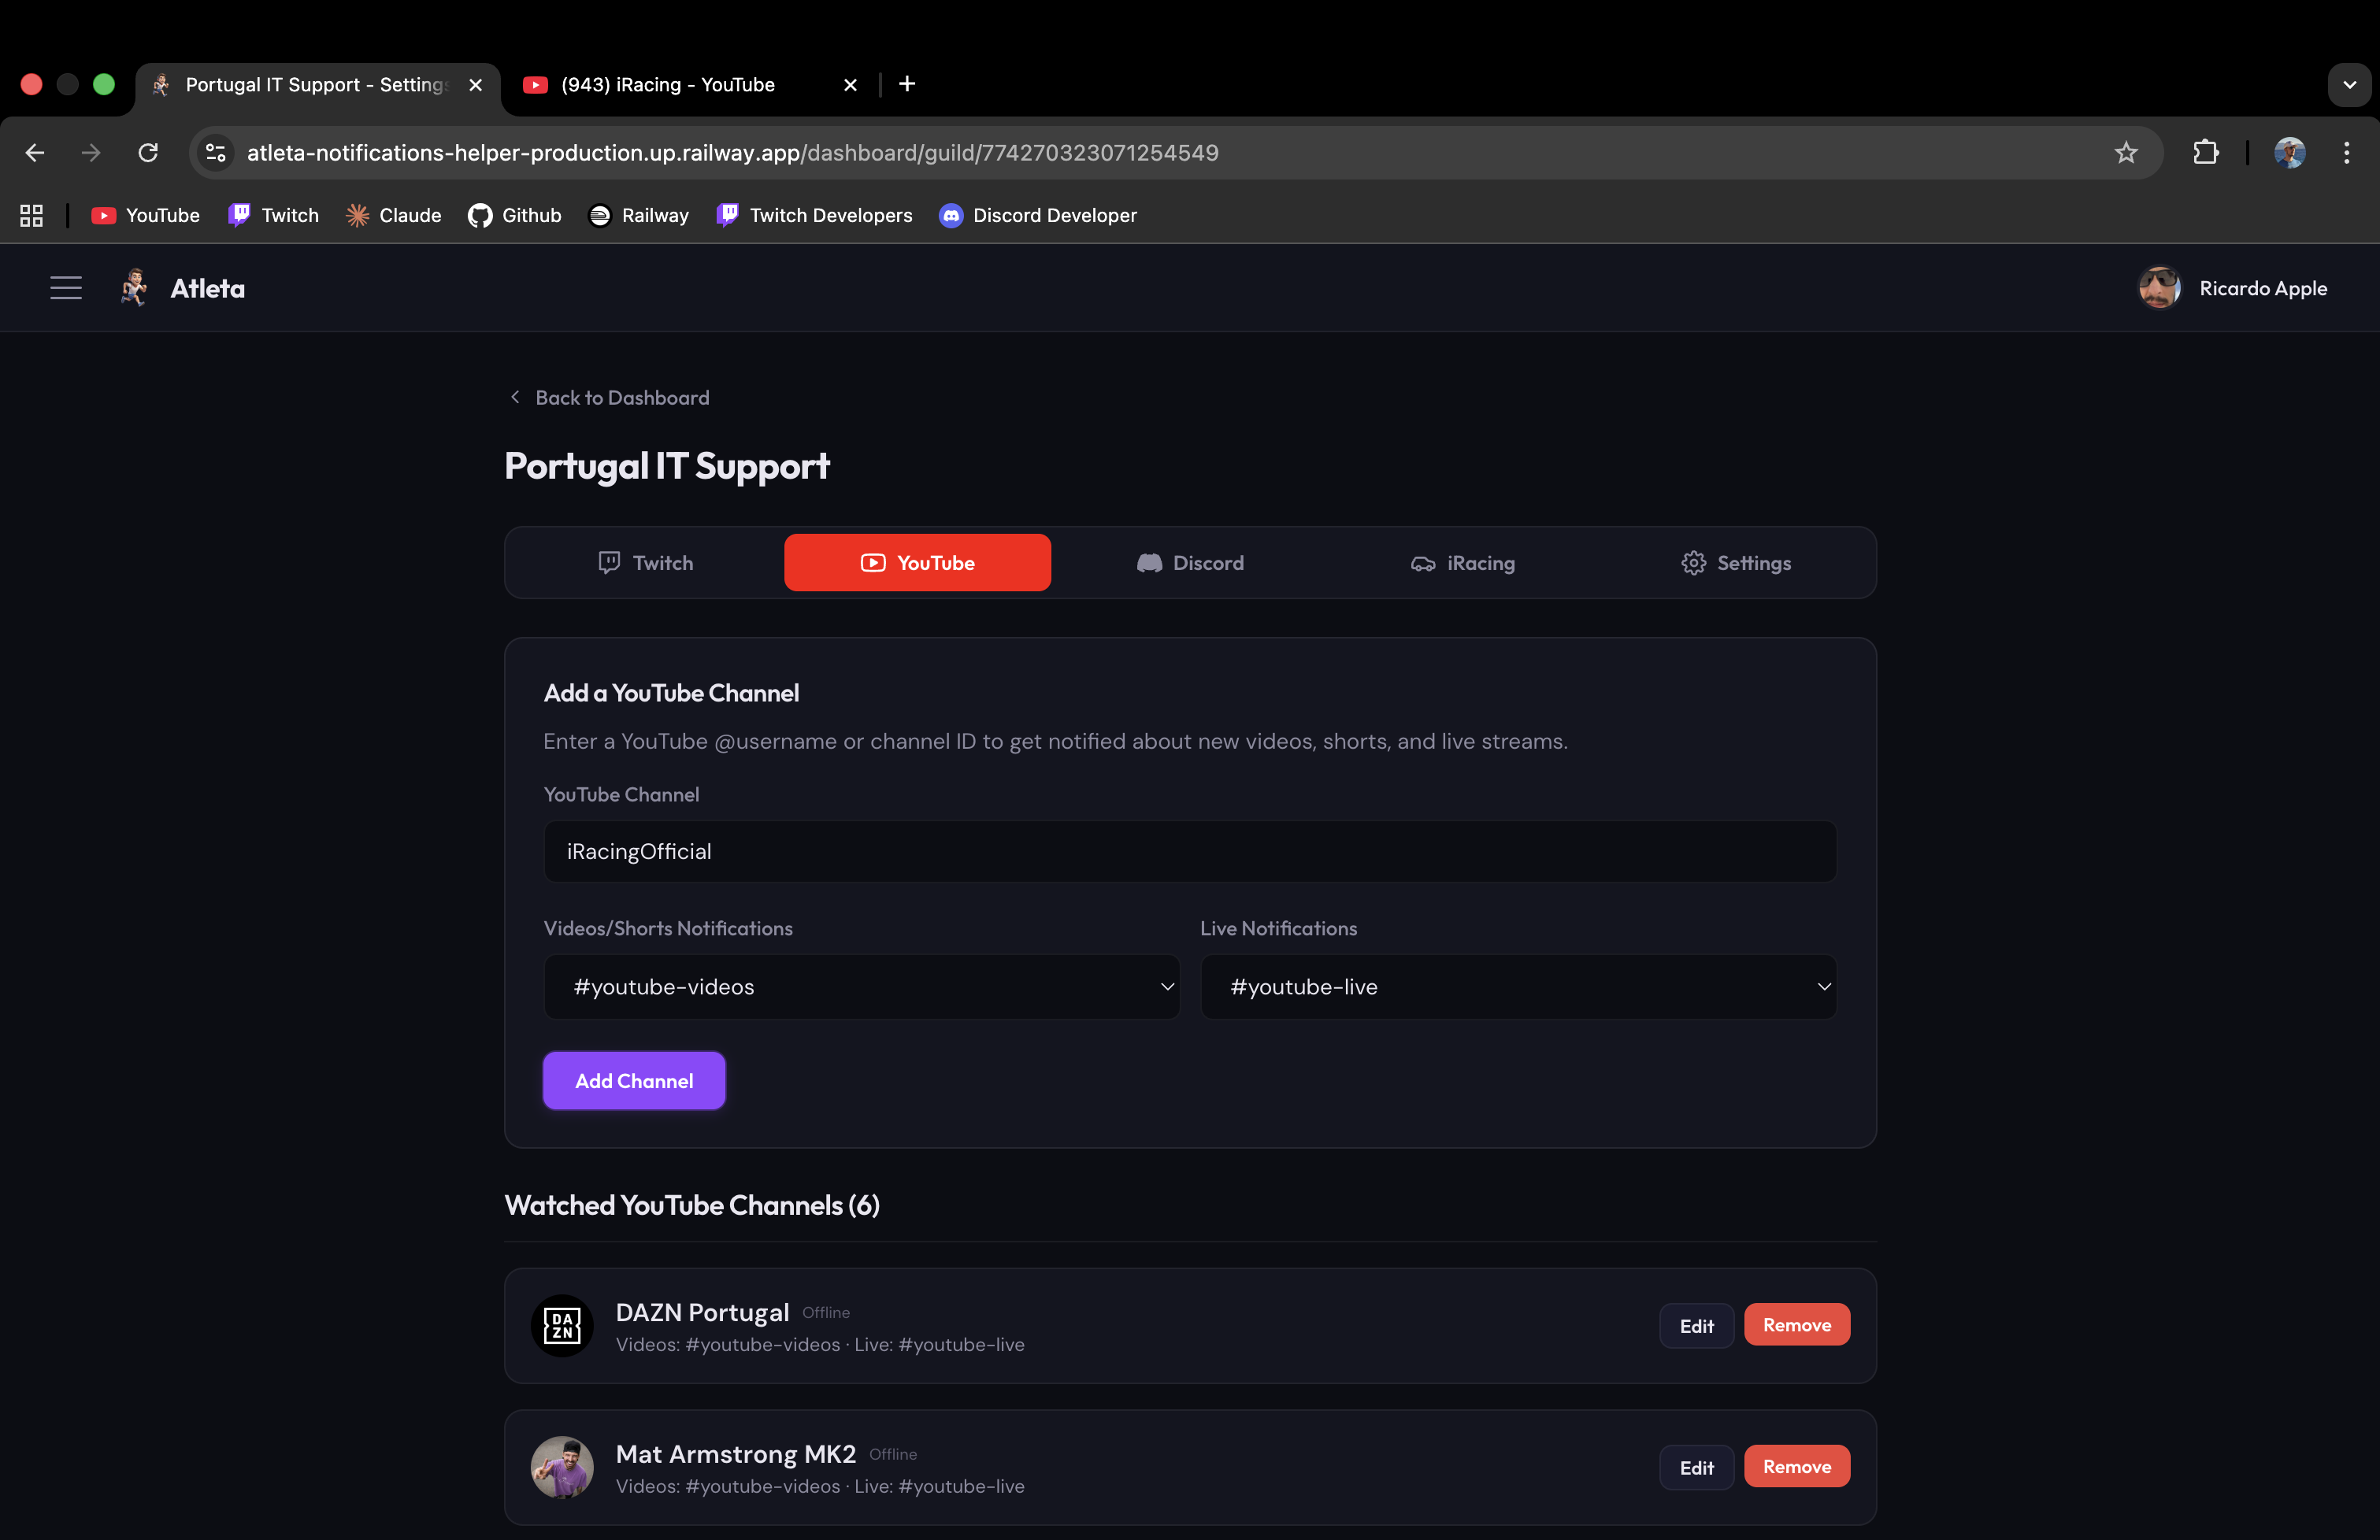
Click the "YouTube" tab on your server settings to add YouTube channels. You can enter a @username or Channel ID (starts with UC).
Choose which Discord channels should receive video/shorts notifications and live notifications, then click "Add Channel".
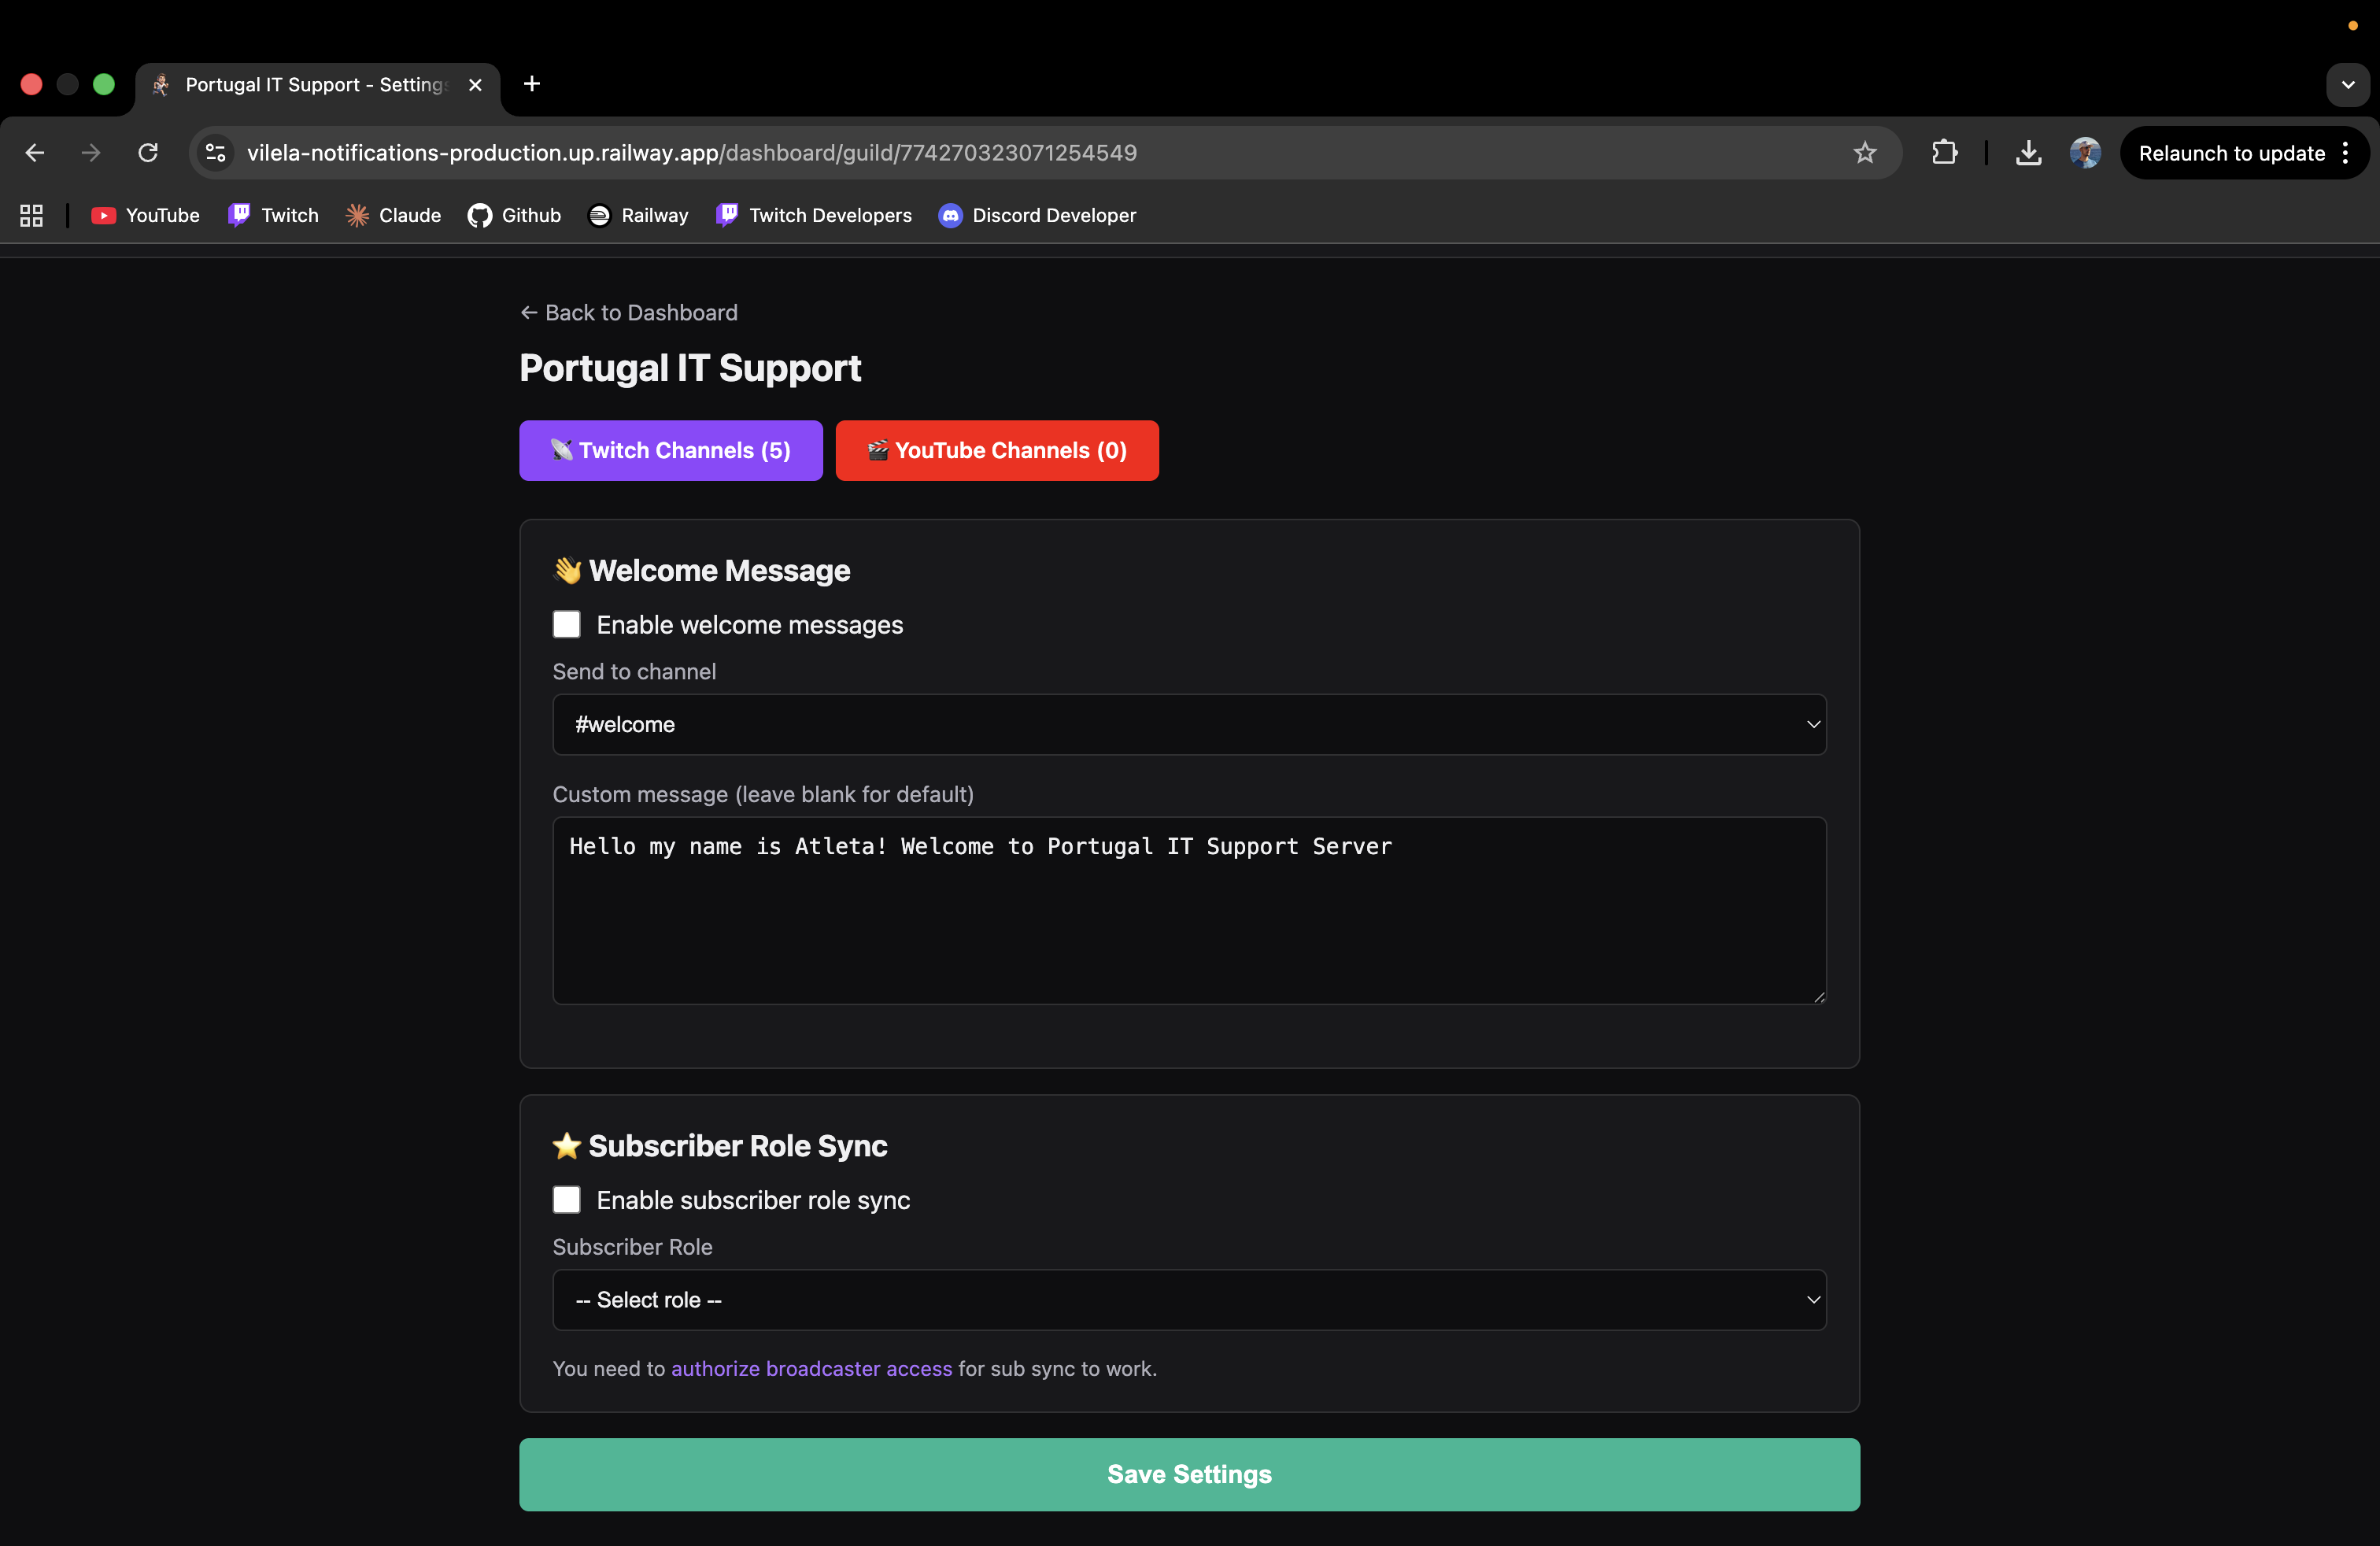
In your server "Settings" page, enable the welcome message feature:
This feature automatically gives a Discord role to your Twitch subscribers:
1. First, link your Twitch account and click "Enable Sub Sync" from the dashboard — this authorizes the bot to read your subscriber list.
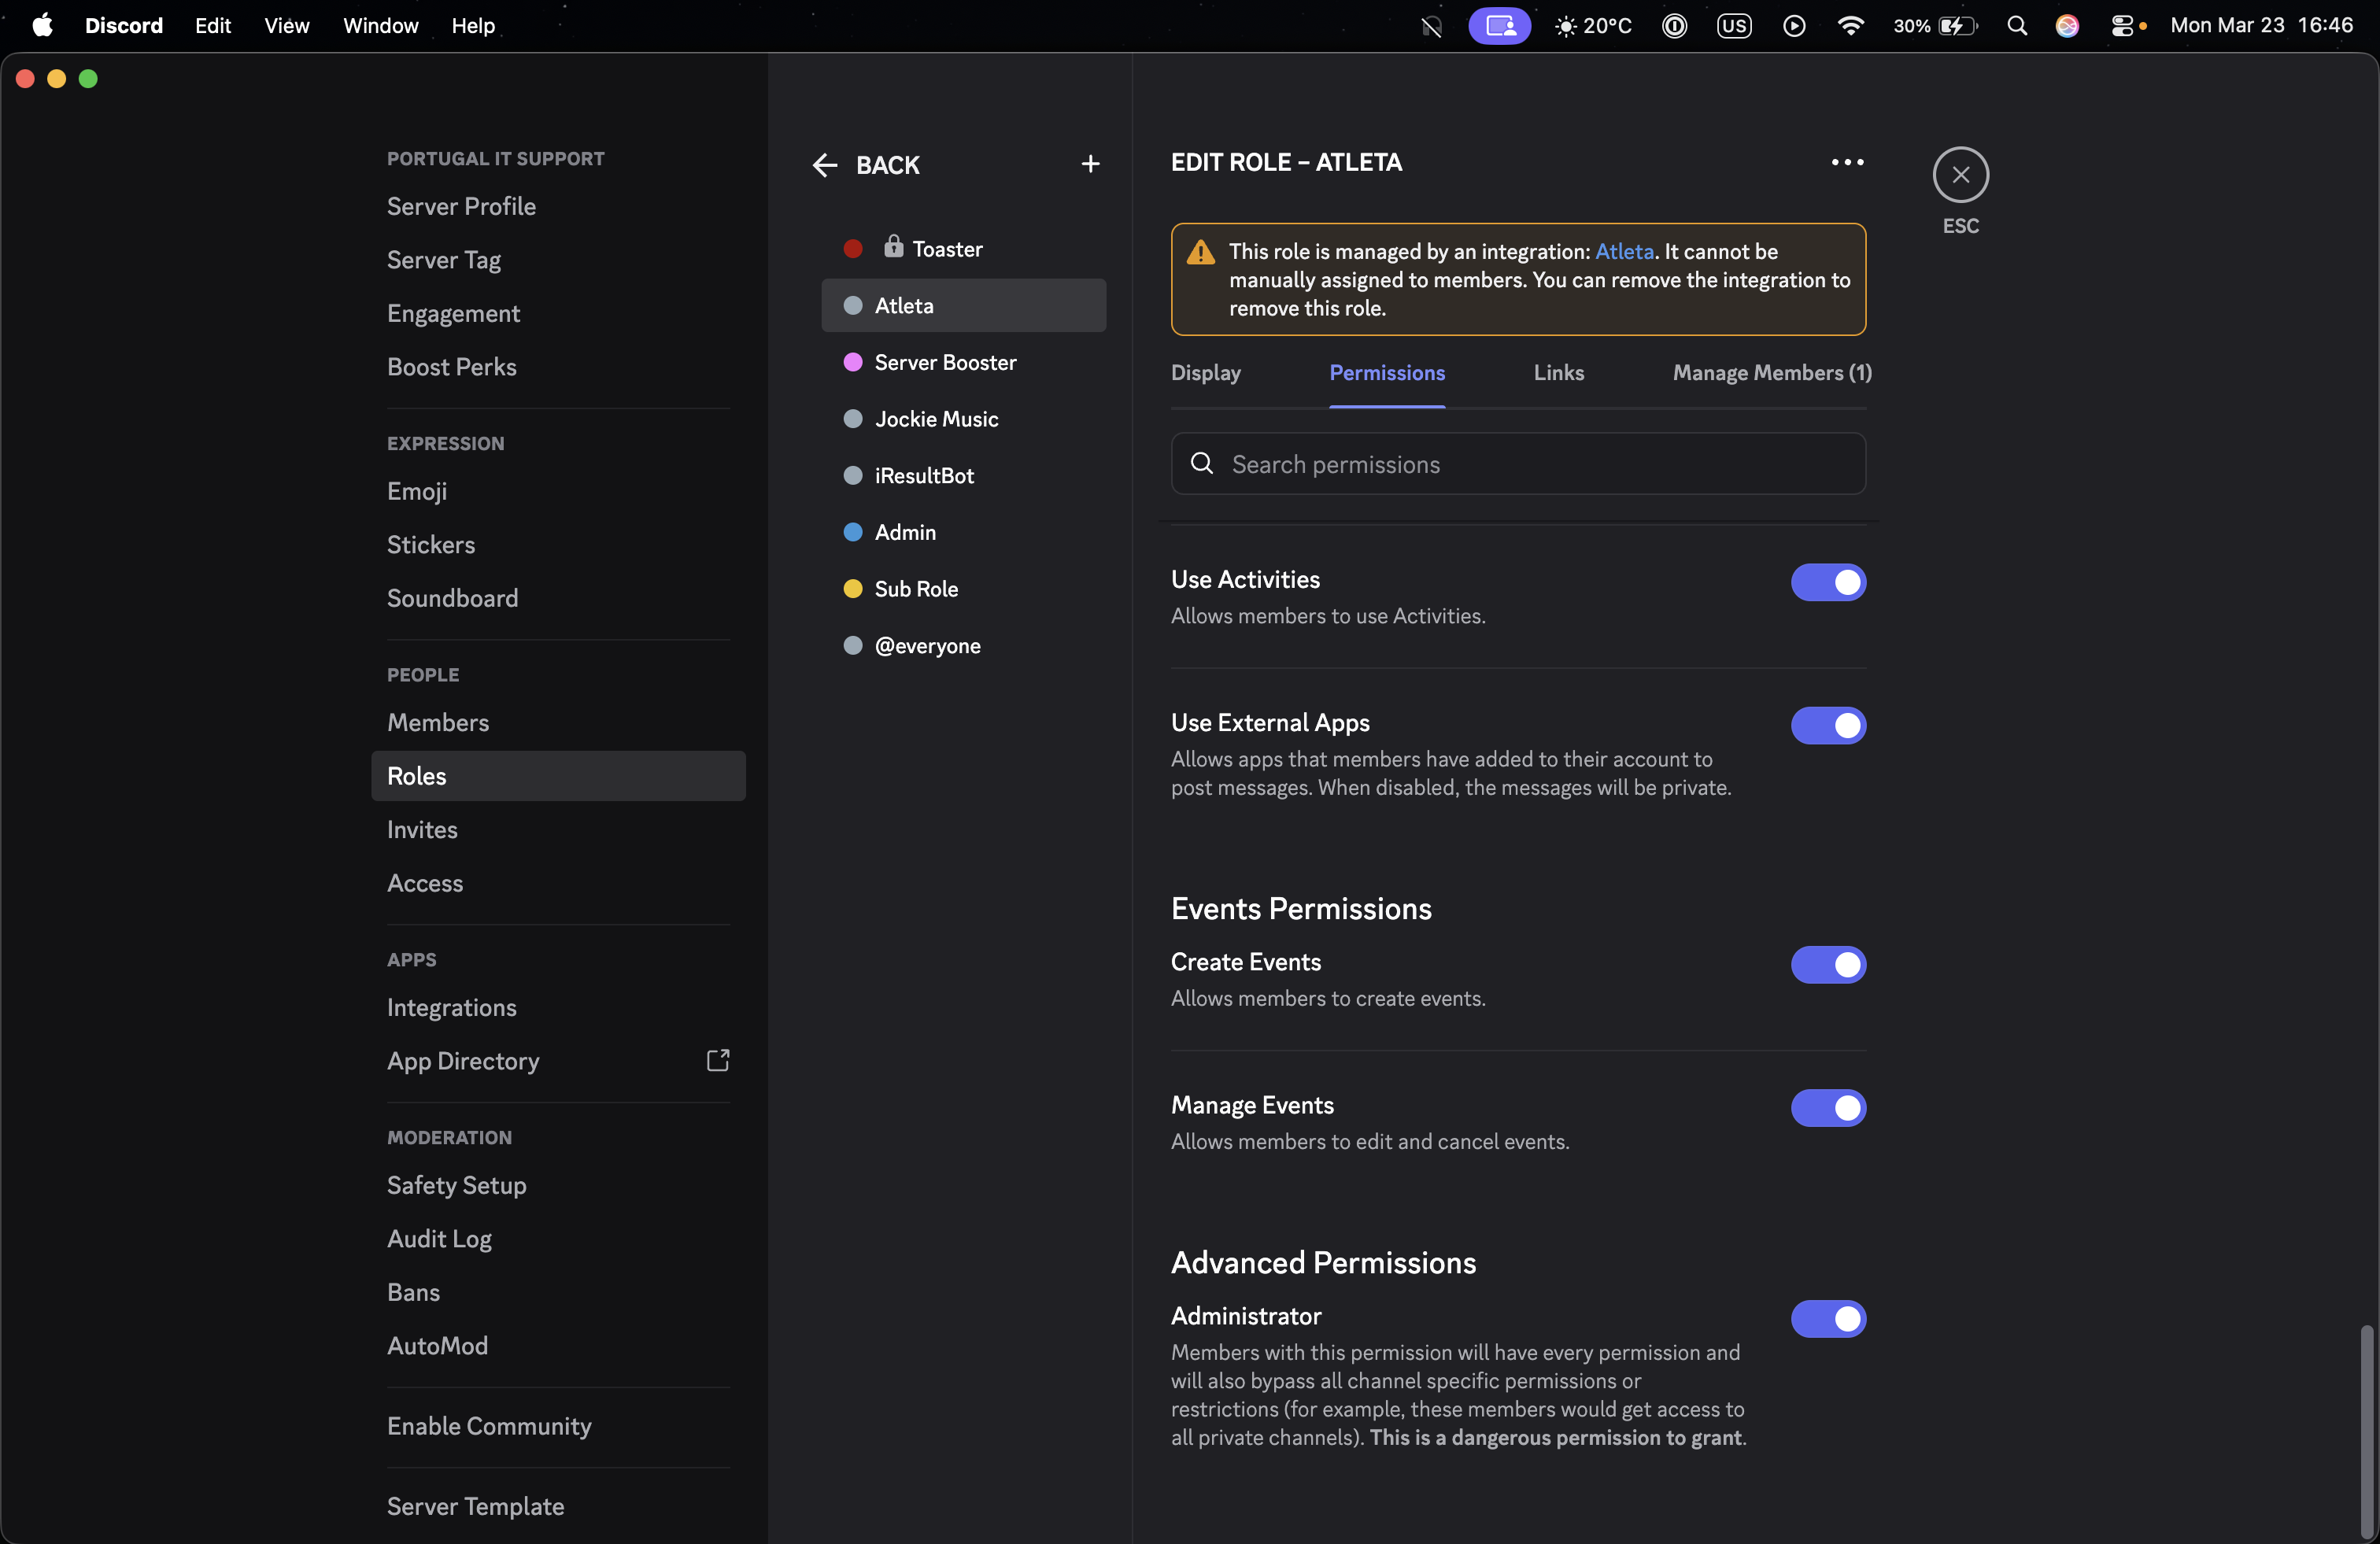
2. In your Discord server, go to Server Settings → Roles → Atleta and make sure the Administrator permission is enabled.
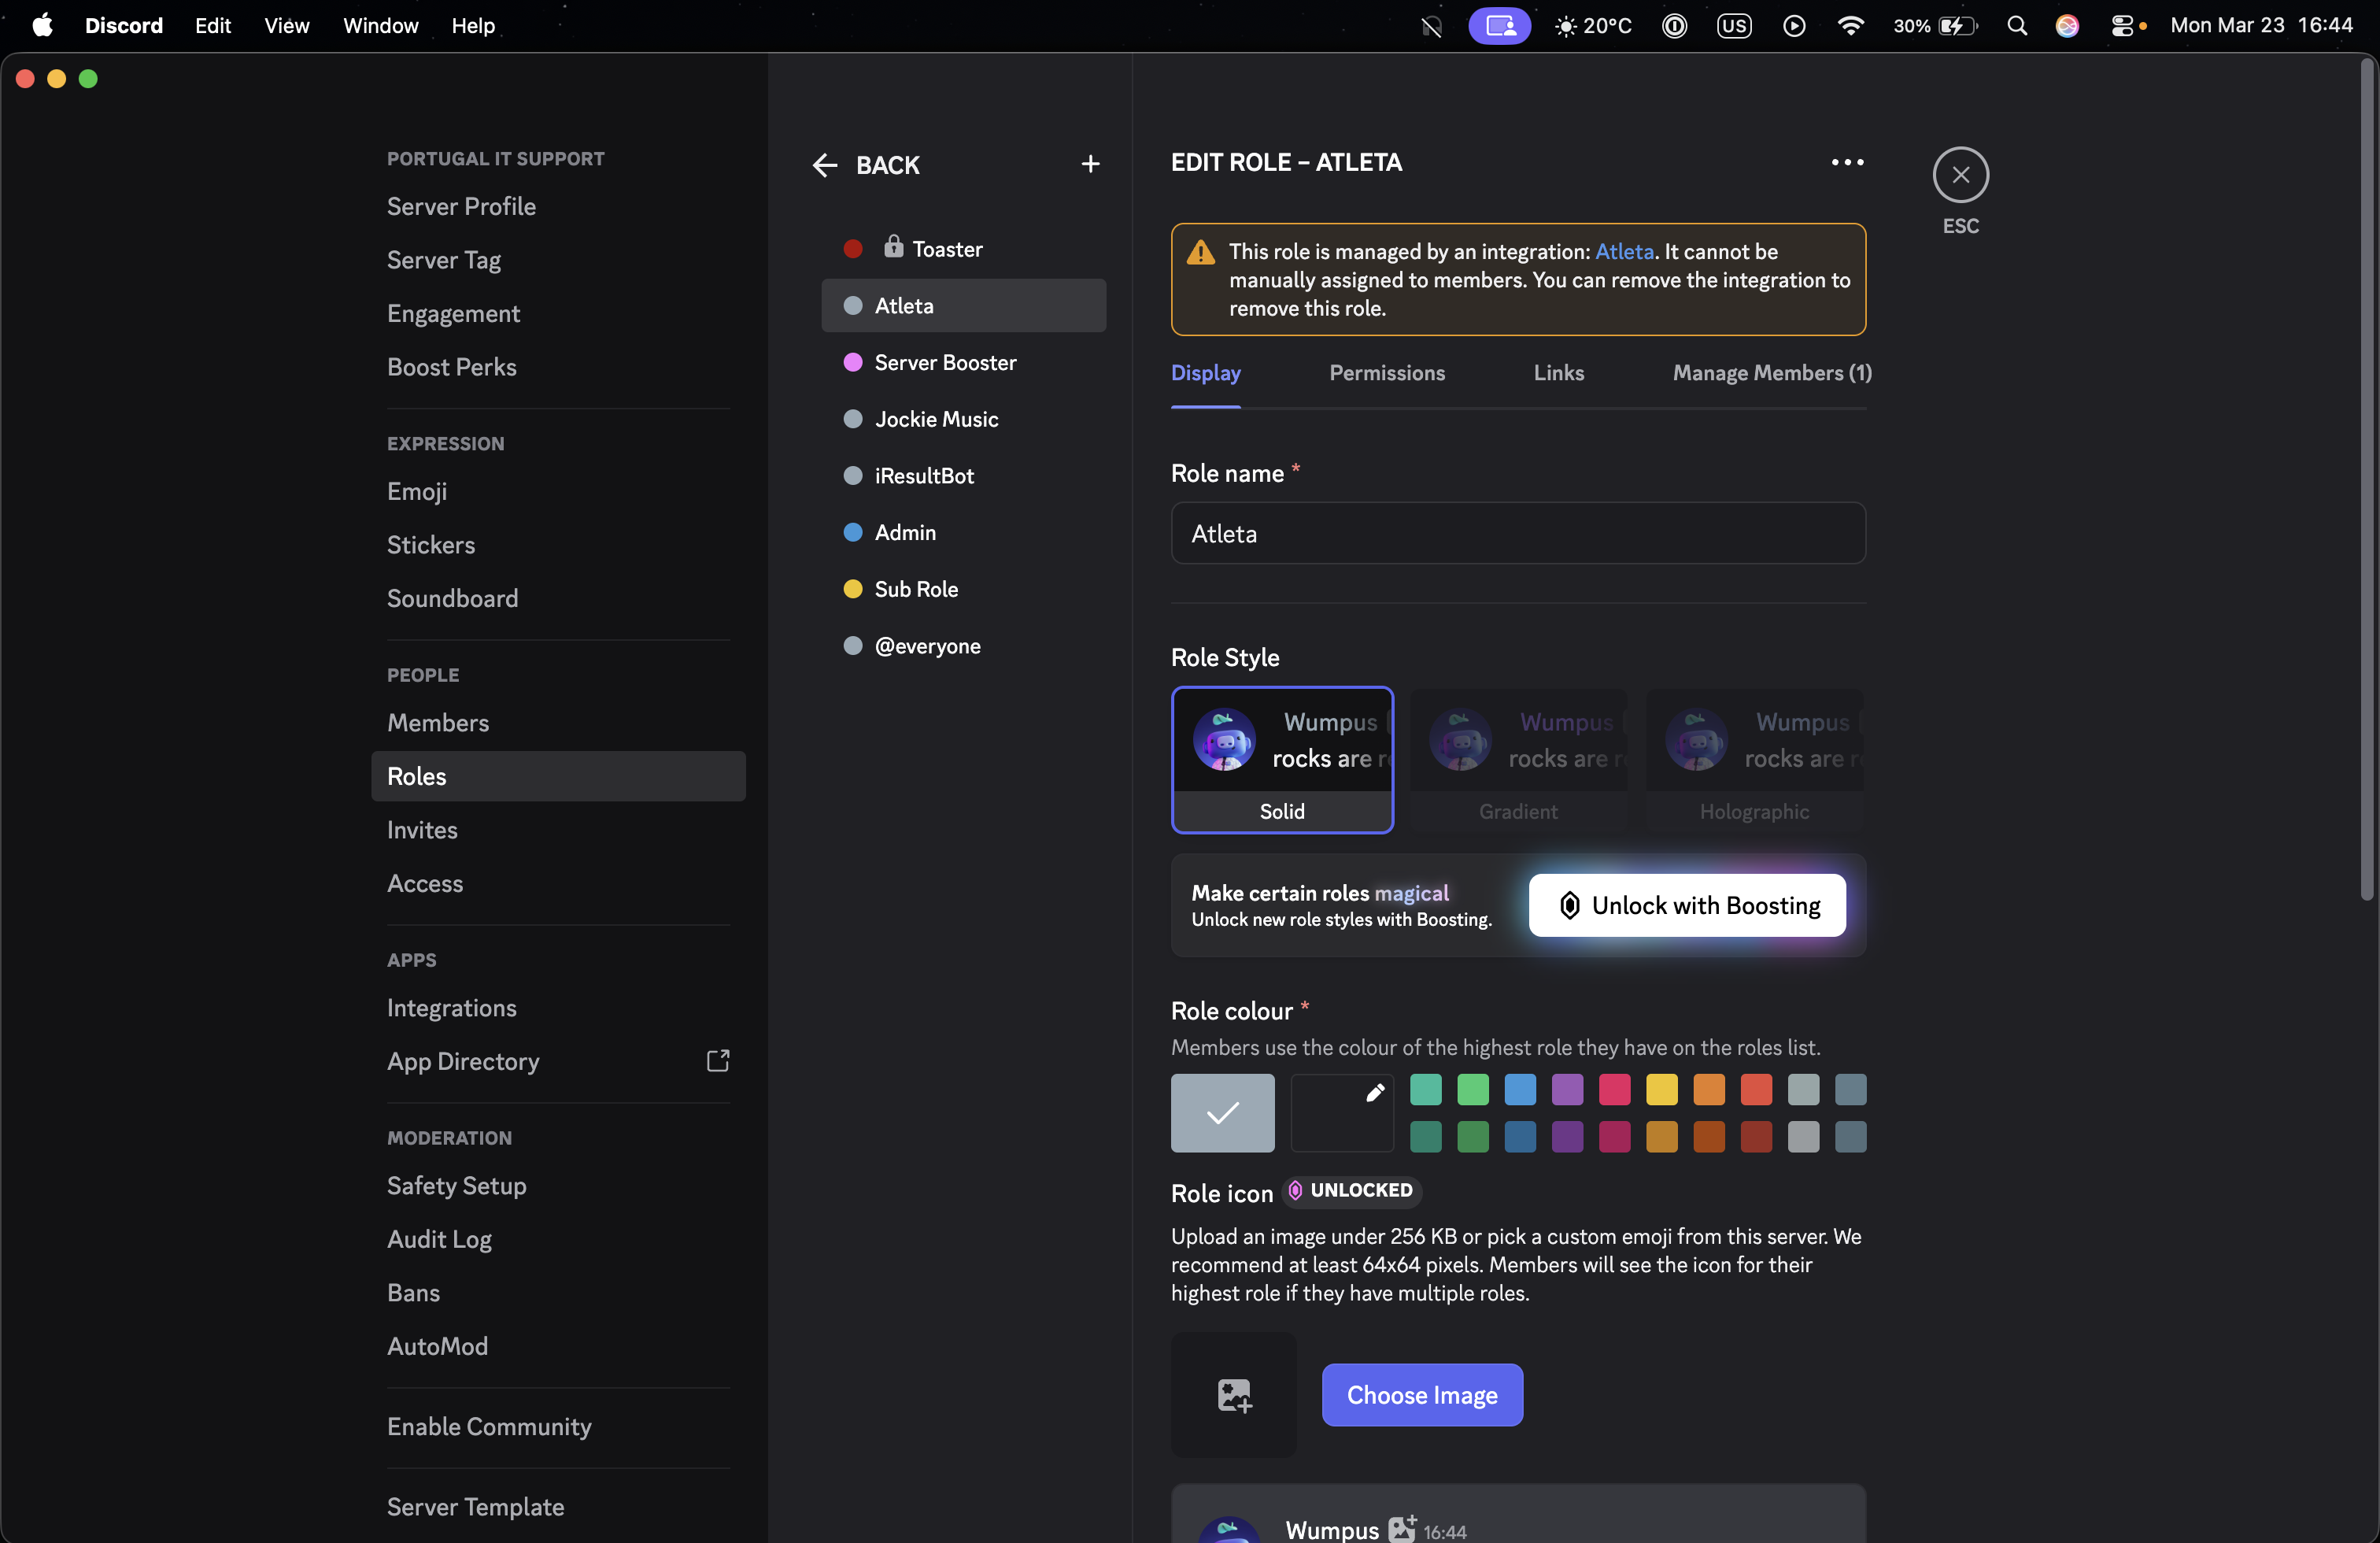
3. Make sure the Atleta role is above the subscriber role in the roles list. If it's not, drag it above — the bot can only assign roles lower than its own.
4. In the Atleta dashboard, go to your server Settings, toggle on Subscriber Role Sync and select the role. Your community members type /link in Discord to connect their Twitch account.
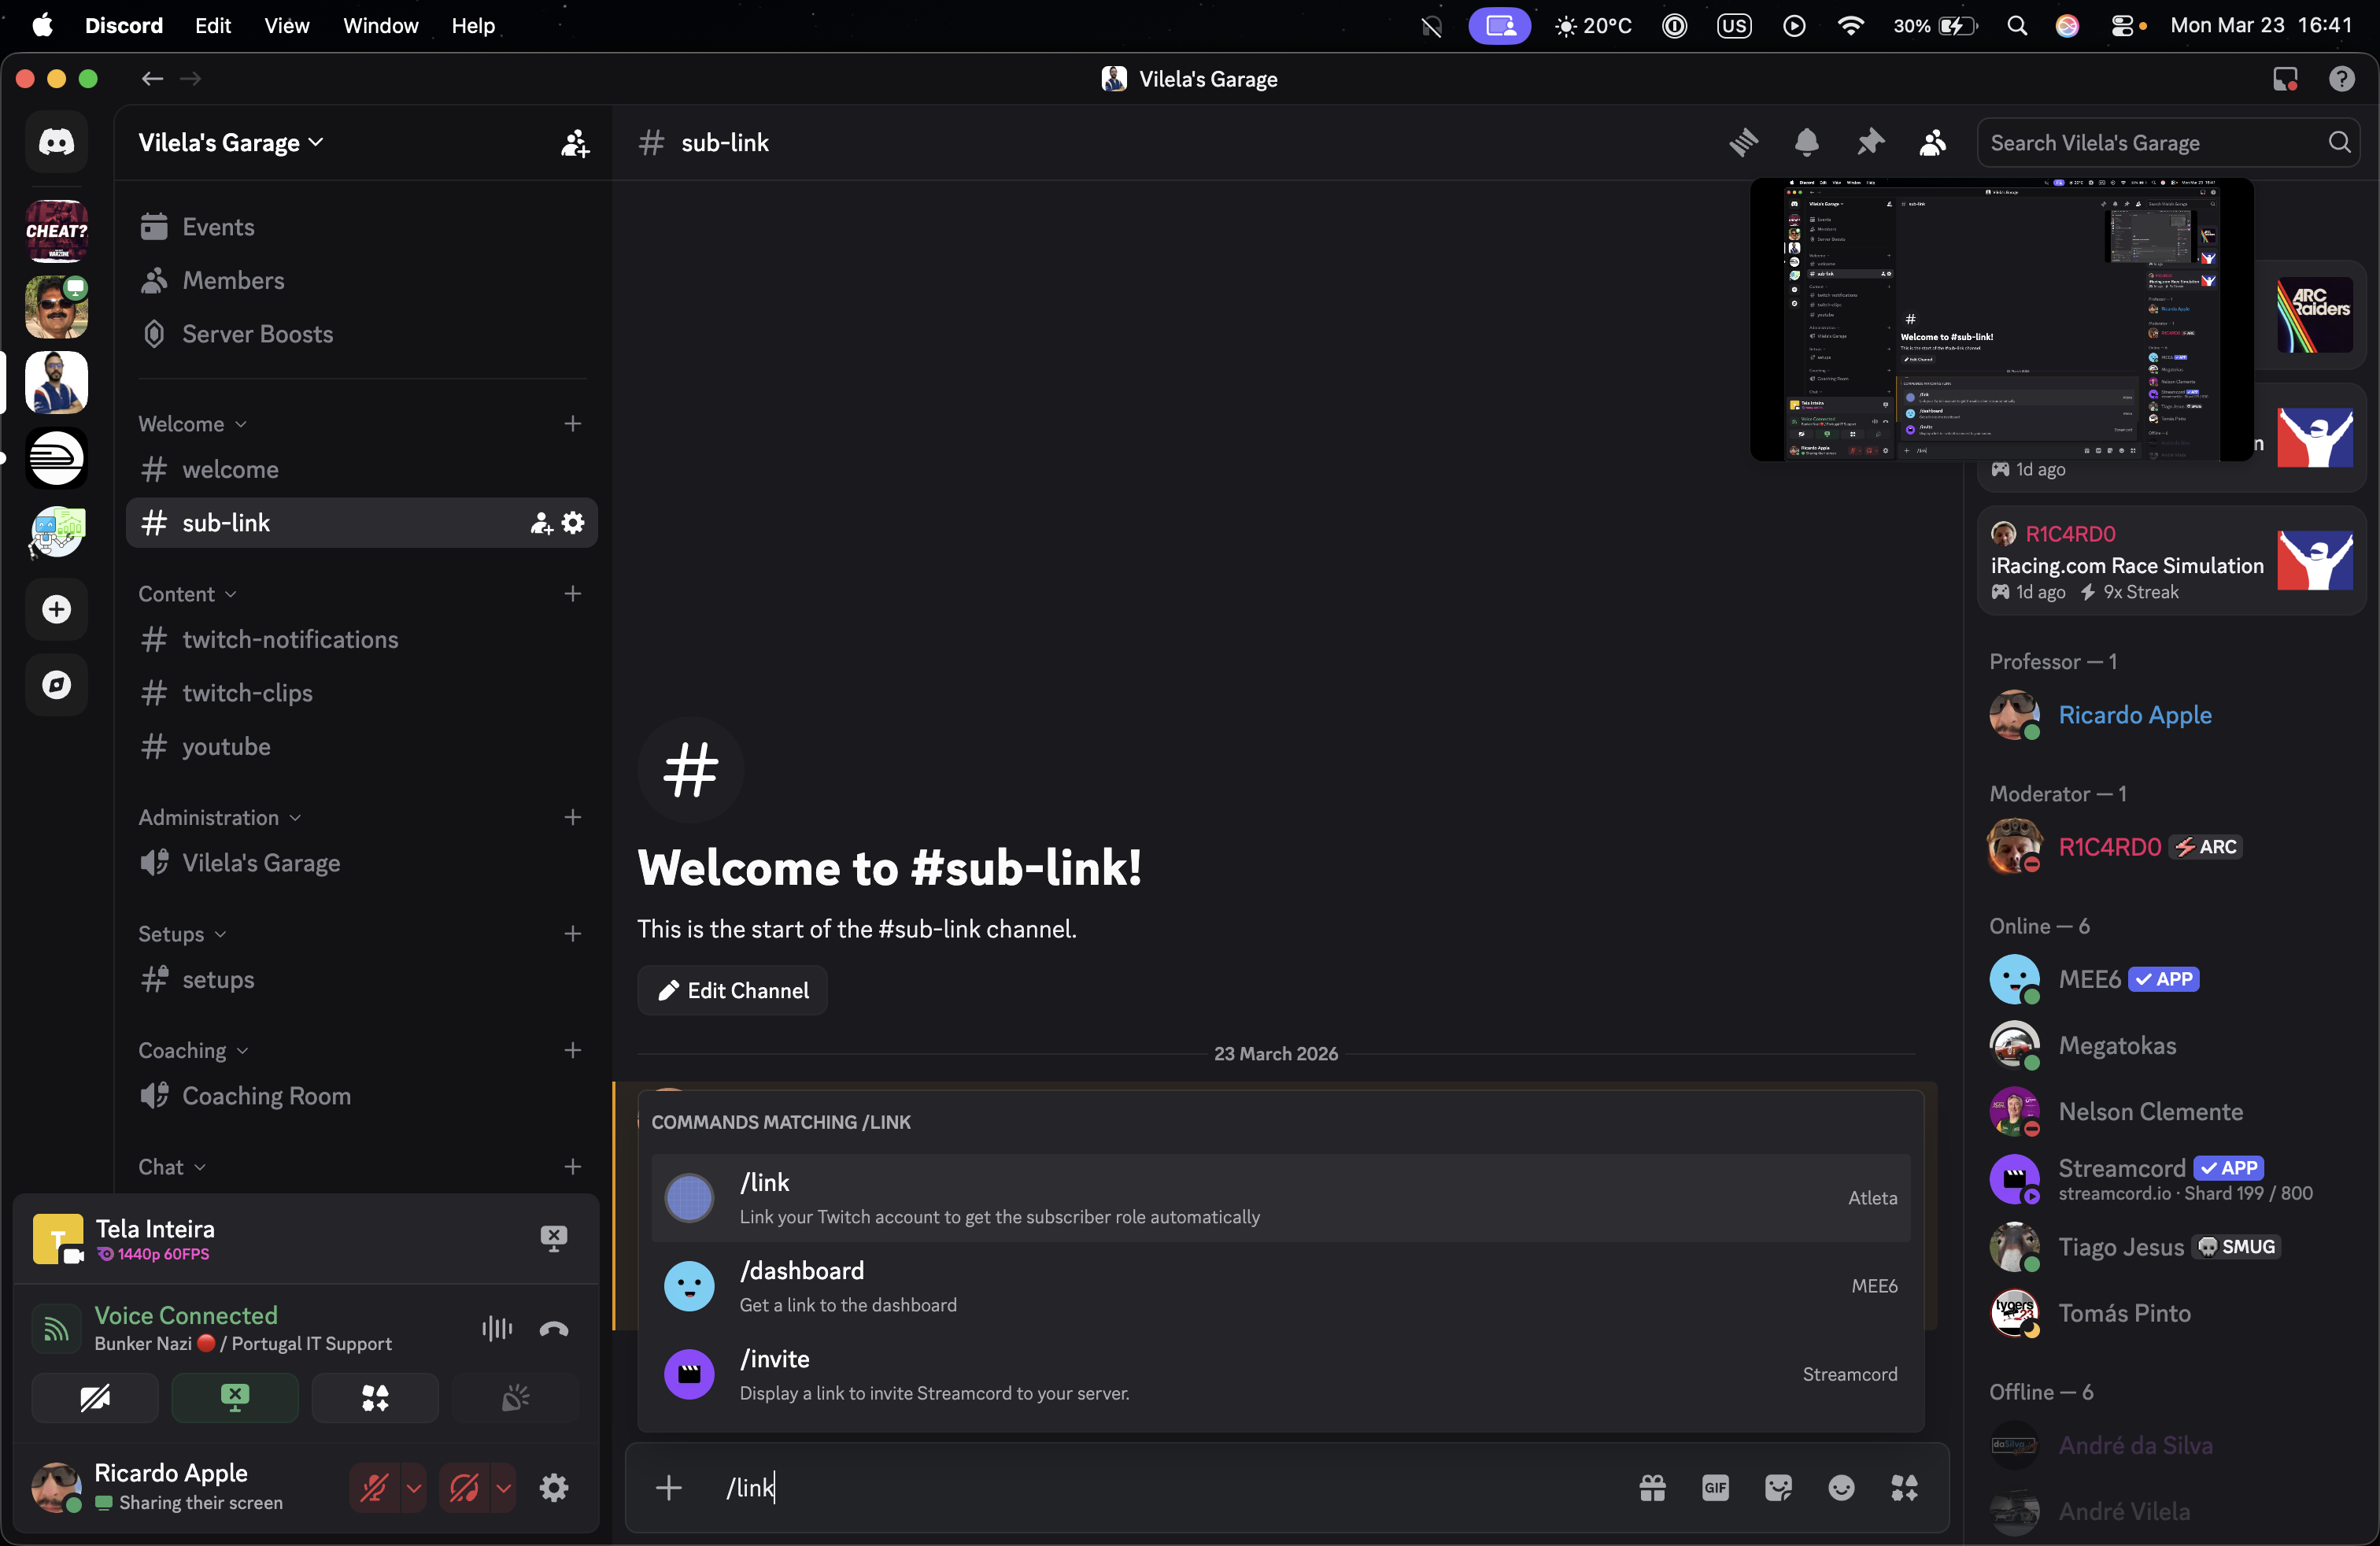
/link once to connect their Twitch and Discord accounts.